Wiki
Clone wikiTOPPERS_SSP_LPC812 / Home
Welcome
This is TOPPERS/SSP for ARMv6-M architecture processors, a kind of Real-time OS kernel.
About TOPPERS, please see http://www.toppers.jp/en/index.html.
About TOPPERS/SSP kernel, please see http://www.toppers.jp/ssp-kernel.html(in Japanese).
Supported Target boards:
-
LPC812-LPCXpresso Board (Cortex-M0+)
-
LPC1114-LPCXpresso Board (Cortex-M0, Switch branch to "features/lpcxpresso_lpc1114_gcc" is needed)
How to use (example for Mac OS X)
-
Get source code.
$ git clone https://NSaitoNmiri@bitbucket.org/NSaitoNmiri/toppers_ssp_lpc812.git
-
Get TOPPERS configuration software
To build the SSP kernel, get source code for the Configurator software, which is necessary to use the SSP, can be downloaded here ( written in Japanese).
Setup procedure example of the configurator (boost library is needed for build the configurator software):
$ ls toppers_ssp_lpc812 $ wget http://www.toppers.jp/download.cgi/cfg-1.8.0.tar.gz $ ls toppers_ssp_lpc812 cfg-1.8.0.tar.gz $ tar xvf cfg-1.8.0.tar.gz x ./cfg/cfg.sln x ./cfg/configure (snip..) x ./cfg/toppers/itronx/static_api.hpp x ./cfg/toppers/itronx/static_api_parser.hpp $ cd cfg $ ./configure LIBBOOST_SUFFIX=-mt BOOST_VERSION=1_55 BOOST_DIR=/usr/local/include LIBBOOST_DIR=/usr/local/lib OPTIONS= $ make make BOOST_DIR="/usr/local/include" LIBBOOST_SUFFIX="-mt" CXXFLAGS="-O2 " -C toppers c++ -O2 -I/usr/local/include -I.. -c -o builtin_function.o builtin_function.cpp (snip..) c++ -O2 -o cfg cfg.o cfg0.o cfg1.o cfg2.o cfg3.o cfg4.o cfg_version.o -L/usr/local/lib ../toppers/itronx/libitronx.a ../toppers/libtoppers.a -lboost_system-mt -lboost_filesystem-mt -lboost_program_options-mt $ cd ../toppers_ssp_lpc812/ssp_kernel/ $ ln -s ../../cfg cfg -
Import project directory in LPCXpresso IDE.
-
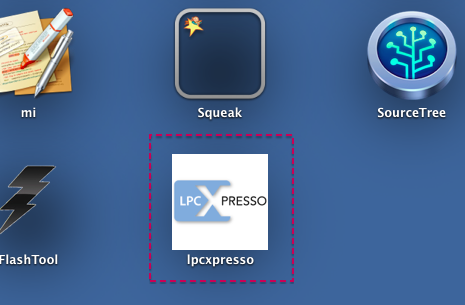
Launch 'lpcxpresso' application.
-
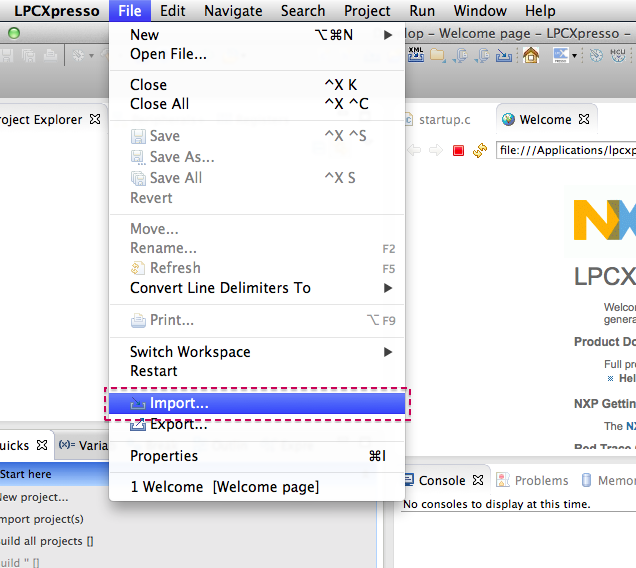
In 'File' menu, select 'Import...'.
-
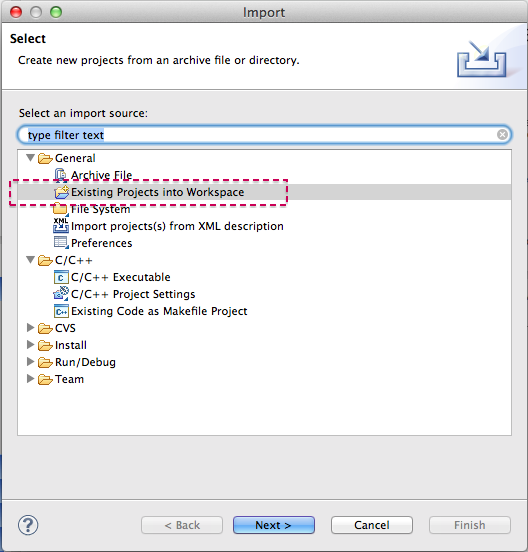
In 'Import' dialog window, select 'Existing Projects into Workspace' in 'General' category.
-
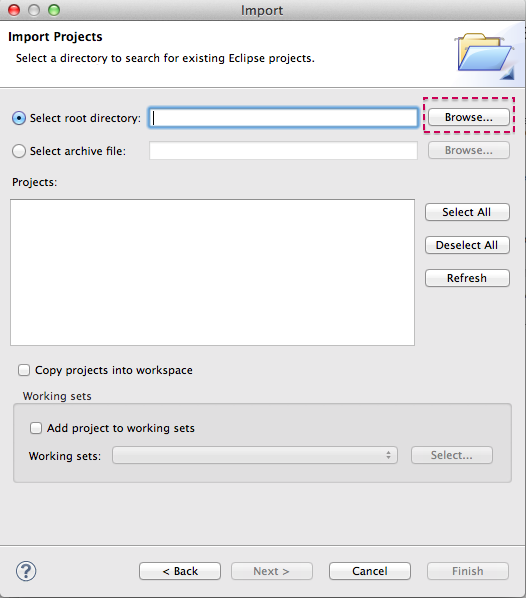
In 'Import' dialog window, select 'browse' button besides 'Select root directory:' label.
-
In file selection dialog, select the source code directory cloned and 'open' button.
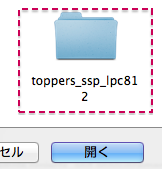
-
After file selection, push 'Finish' button.
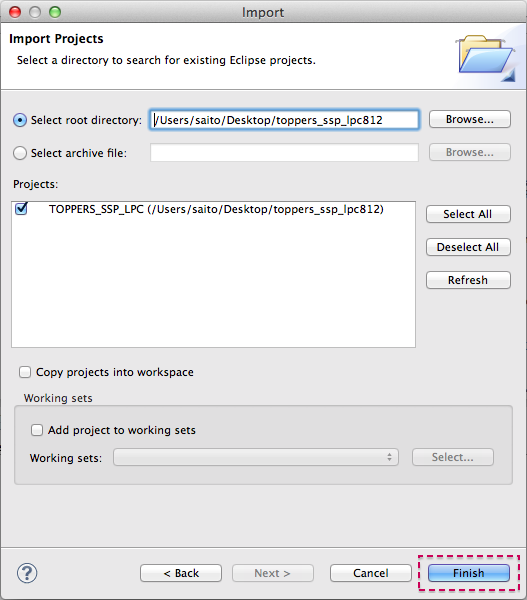
-
Import finished.
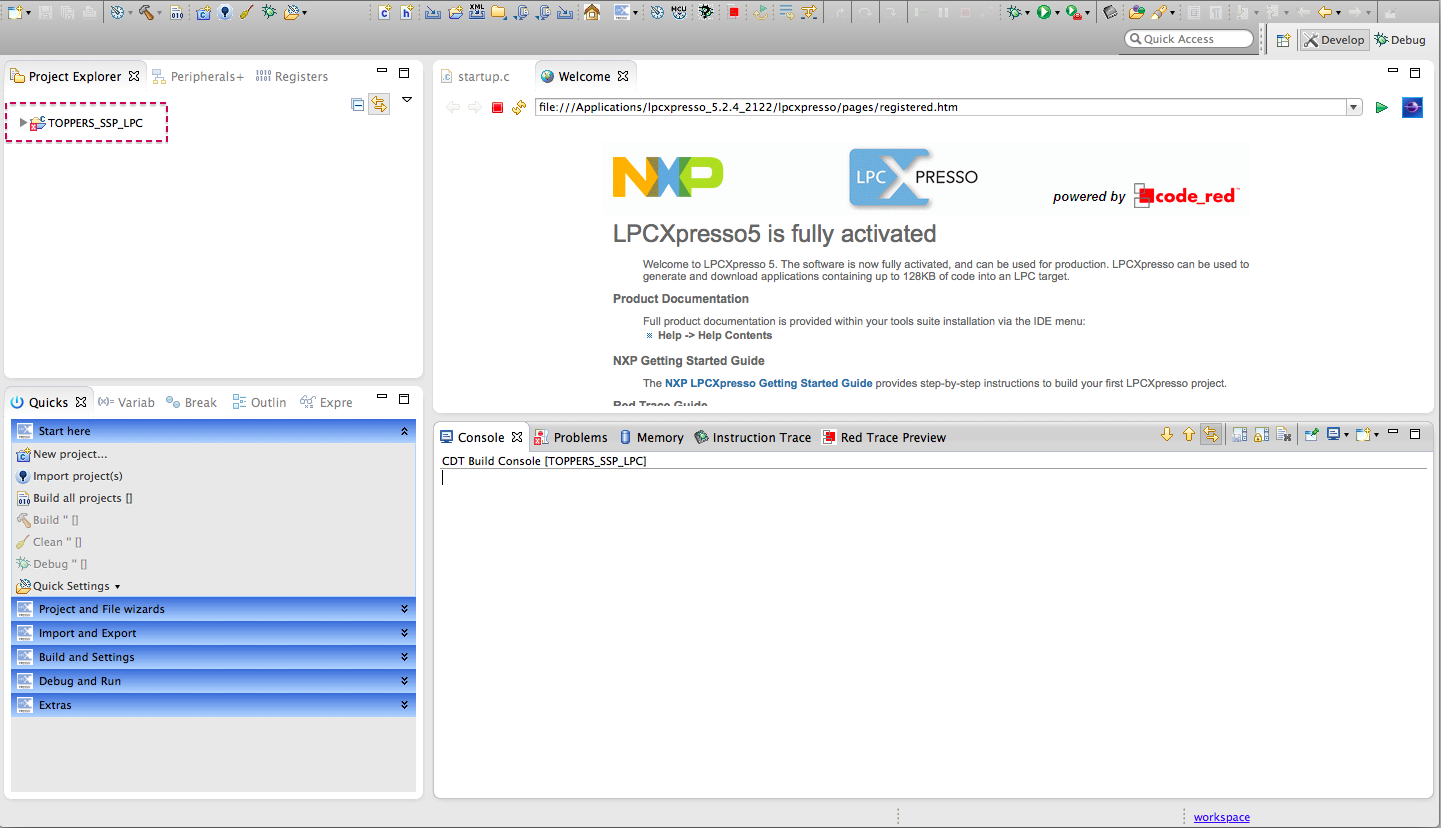
-
-
Compile sources and build a executable file with LPCXpresso IDE (filename: ssp).
-
In 'Project' menu, select 'Build All'
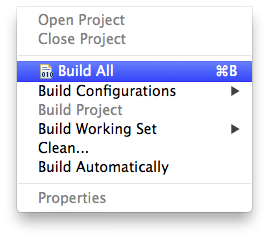
If kernel build is completed successfully, the file named 'ssp' will be generated.
-
-
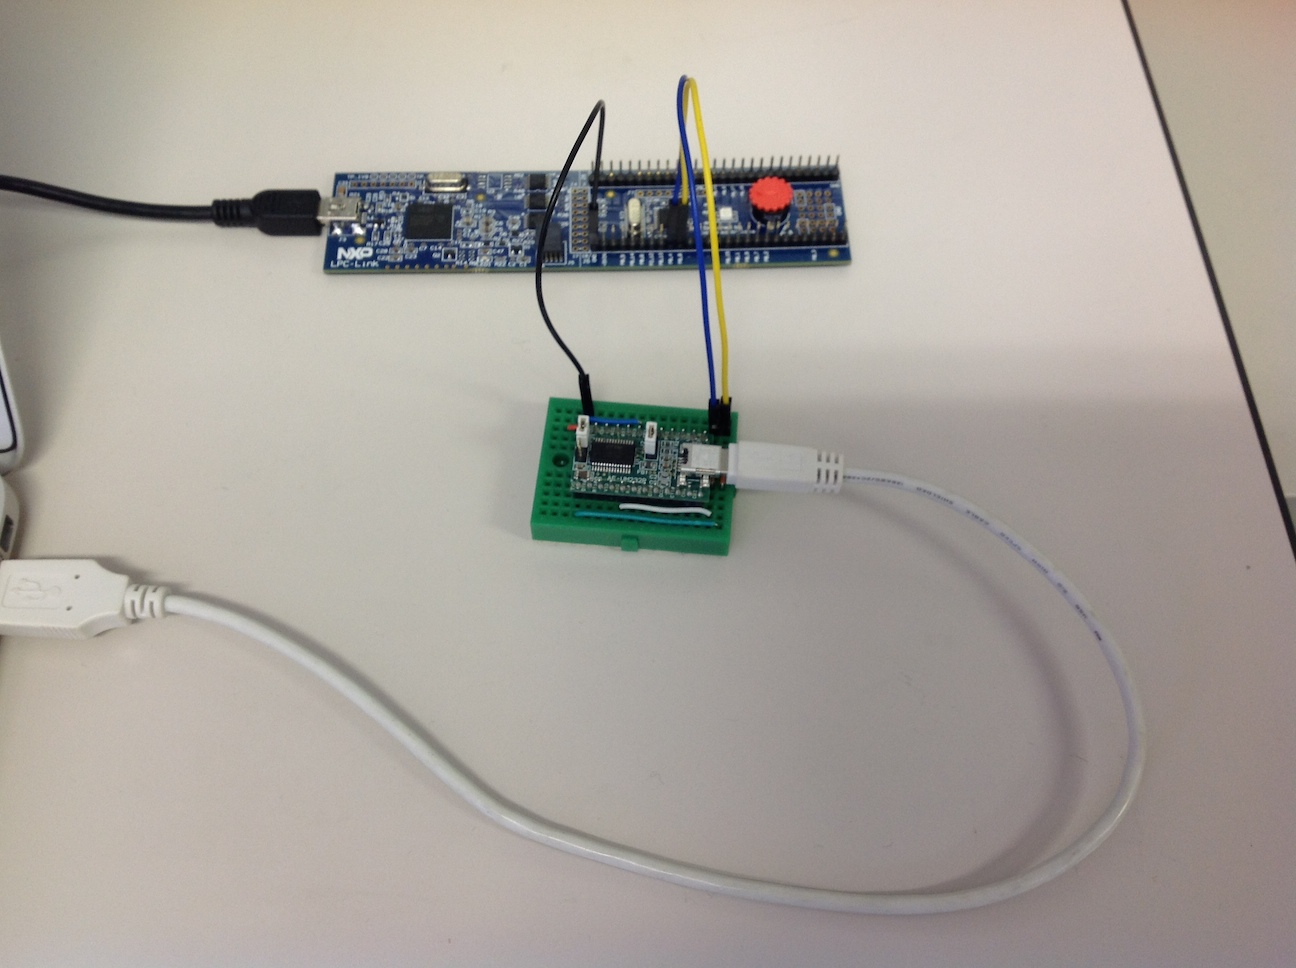
Connect LPC812-LPCXpresso Board to PC via USB.
-
Sample application of SSP uses one UART port. Thus, RS232 or UART-USB module is needed.
- UART is 3.3v
- The pins used are GND, P0_0(RX), P0_4(TX)
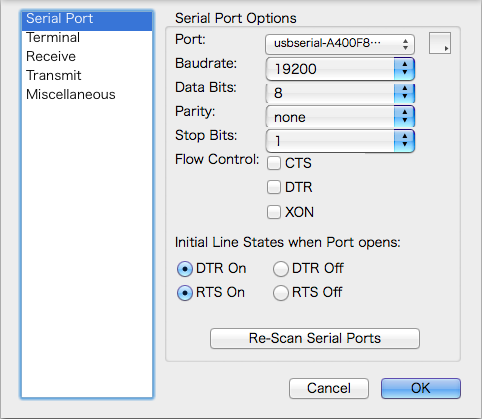
- UART setting: 19200bps, 8bit, 1stop, parity-none, no-flow (for LPC1114, 115200bps)
-
-
Download the executable file to a target board (LPC812 board).
-
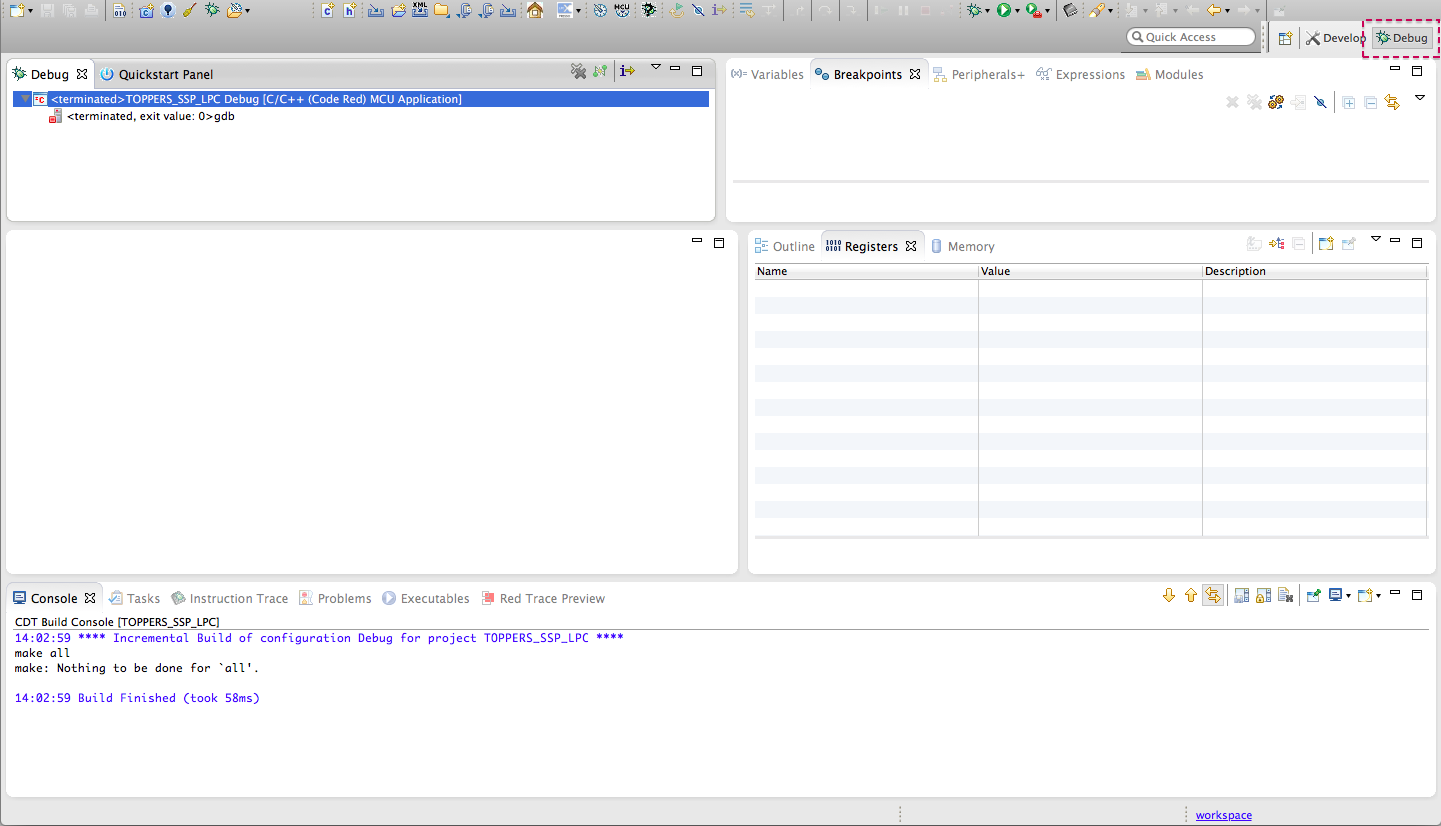
In LPCXpresso IDE, select 'Debug' perspective.
-
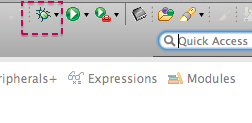
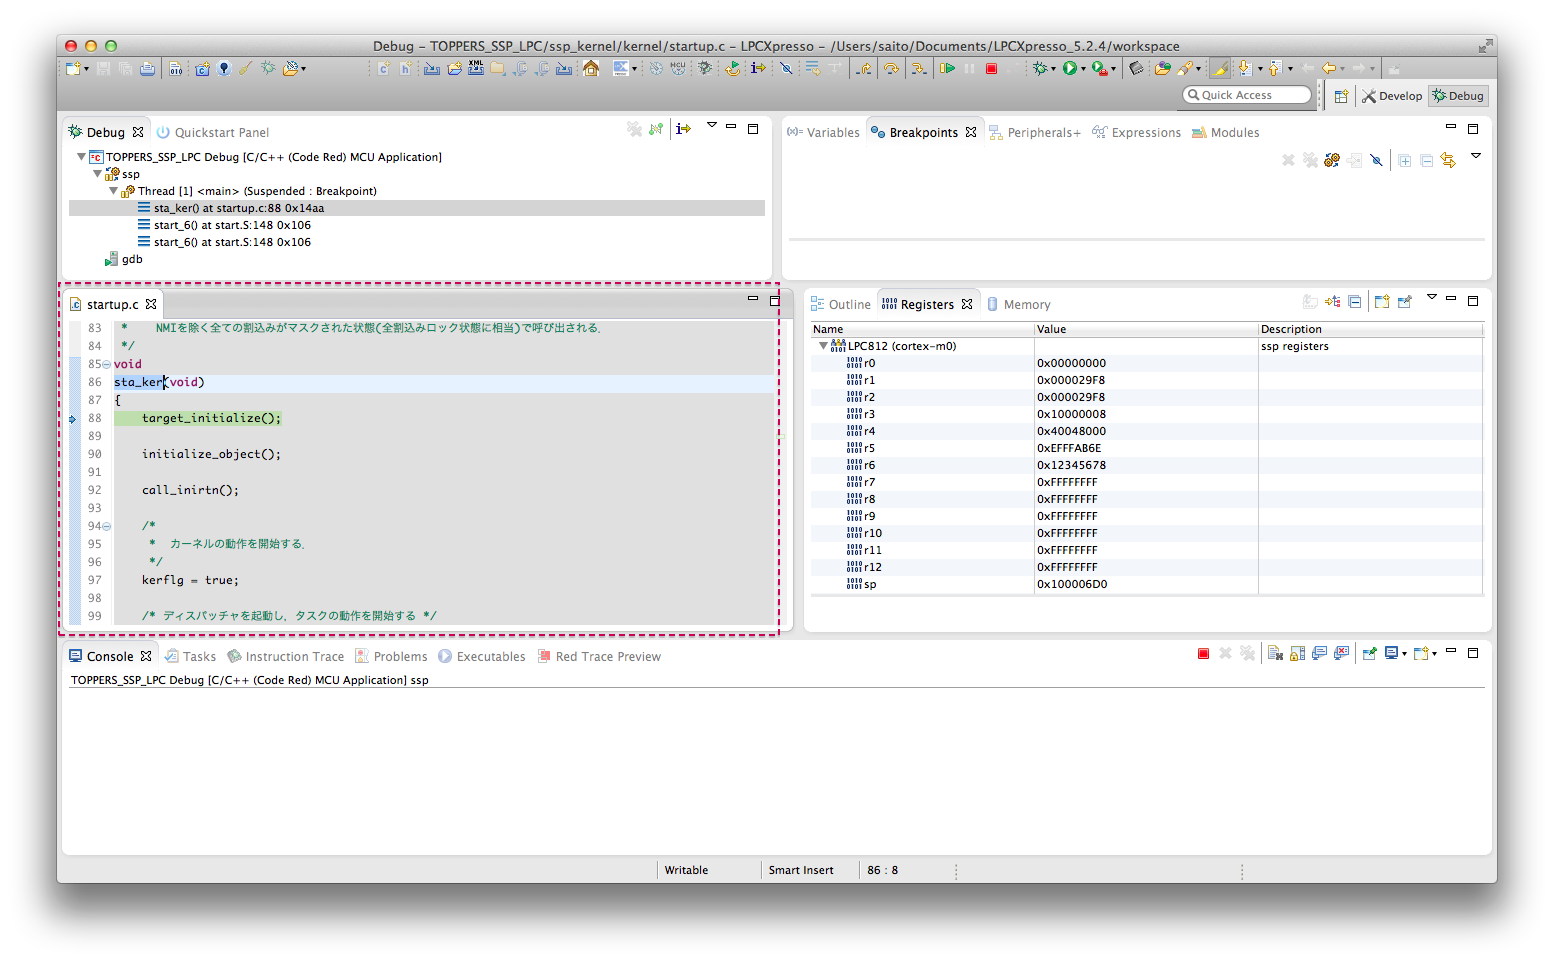
In LPCXpresso IDE, press 'Debug' button. Then, downloading is started and software execution is stopped before 'target_initialize' function call in 'sta_ker' function.
-
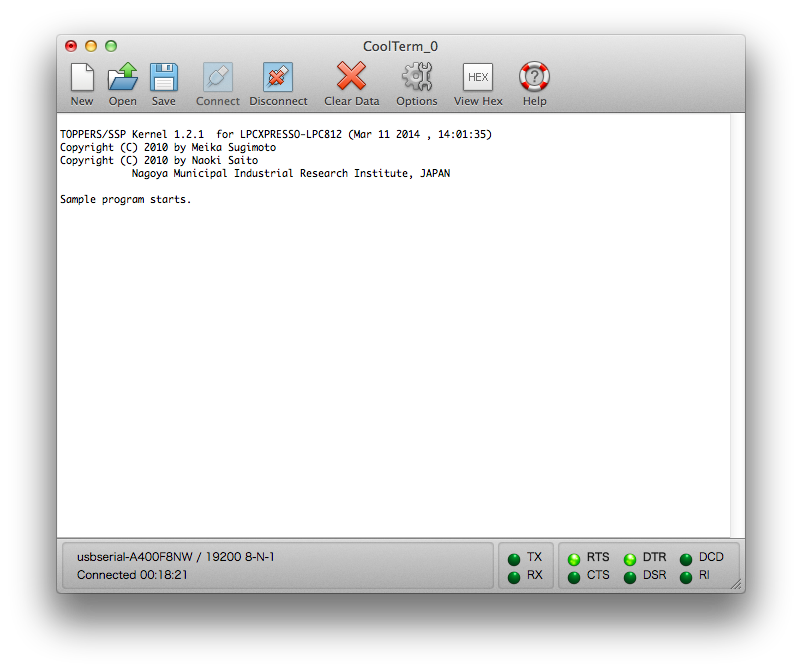
In LPCXpresso IDE, press 'Resume' button. Then, execution is started.

-
Have fun!
Updated