Wiki
Clone wikiRUBA / RUBA Control
RUBA Control
Quick-start manual
Start
Start the program, go to menu File -> Open:
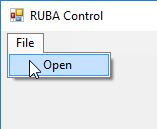
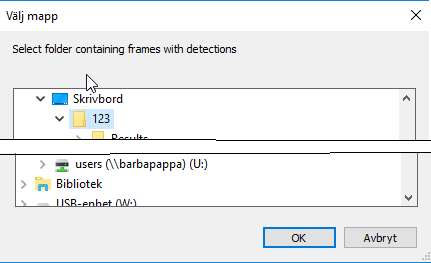
Select the .csv file containing the output from RUBA. Note: for the moment only double-detector output is supported. Next step is to select the folder containing saved frames for the detections:
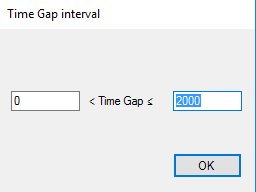
Finally, the program asks which filter on Time Gap values (time difference between the two detectors activated) to use, note that this option does nothing if the selected input comes from the RUBA Combine software:
Program view
The program window looks like that:
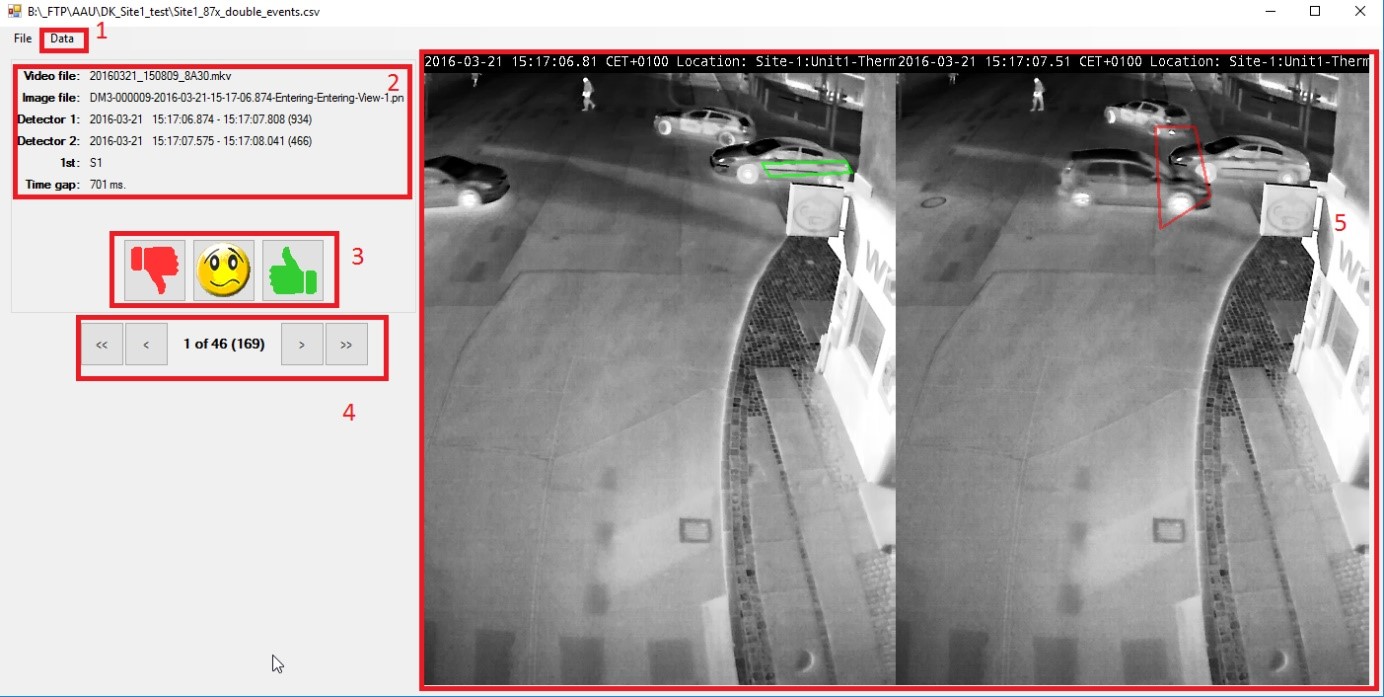
- Data menu. Allows to switch between sorted/unsorted detections and to set the filter for the Time Gap;
- Information about the current detection (one line in the .csv file);
- Detection status (”false alarm”, ”not sure”, ”correct”, ”not checked”)
- Navigation buttons;
- Preview of the detection screenshot.
Selecting detections
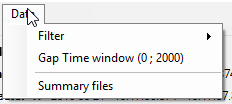
By default, the program selects the detections that have ”not checked” status. To change the shown detections type, use menu ”Data”:

It is also possible to update the Time Gap interval by selecting “Time Gap window” in the menu.
Navigation
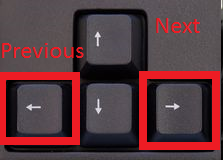
Navigation between detections is done by either buttons 4 or hot-keys (arrow-buttons ”Left” and ”Right”).

Detection status
To change the status of the record from ”not checked” (all three buttons are visible), press one of the buttons 3.
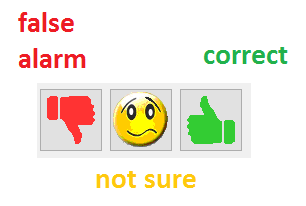
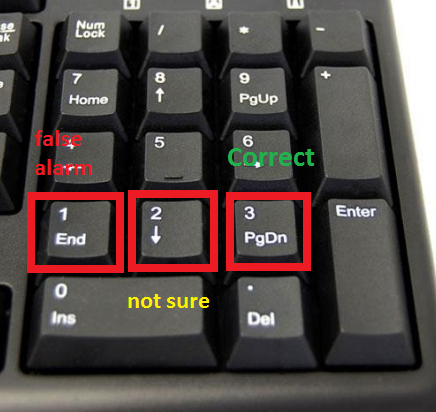
Pressing the “Status” button again sets the status to “not checked” (all three buttons visible) and then a new status can be selected. It is also possible to use hot-keys (”1”, ”2” or ”3” on the NumPad) to change the status. In this case, the program automatically moves to the next detection.
Summarising results
The results of the detection sorting are stored in the same folder as the detection frames. The following folder structure is created and a copy of a frame for each detection is stored in a respective folder once the status of the detection is changed:
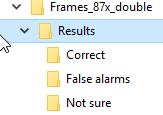
When the program is started, it checks the contents of the “Results” folder which allow to stop work at any time without losing the results. The change of Time Gap interval does not require any additional actions for “cleaning” the folders, the wok can be just continued. To make a .csv file containing ONLY the “correct” detections, choose “Summary files” in the “Data” menu. The program stores the new file in the “Correct” folder and opens the folder once finished writing the data to file.
The file name contains the values of the recent Time Gap selection.

Updated