Wiki
Clone wikisftpgateway-public / Azure Initial Configuration
Initial Configuration
Table of Contents
- Launch a VM
- Initial Configuration
- Basic Usage
Overview
SFTP Gateway needs to be configured with Storage Account access keys. This allows the server to write to Azure Blob Storage.
1. Create a Storage Account
If you have a storage account, feel free to skip to the next step.
Note: When launching a VM, the default setting from the Management tab creates a Storage Account for boot diagnostics. The storage account name is based on your resource group, followed by "diag". You can use this as an existing storage account -- just be aware that when deleting your resource group, your Blob Storage will disappear along with it.
Within the Azure portal, go to Storage Accounts > + Add.
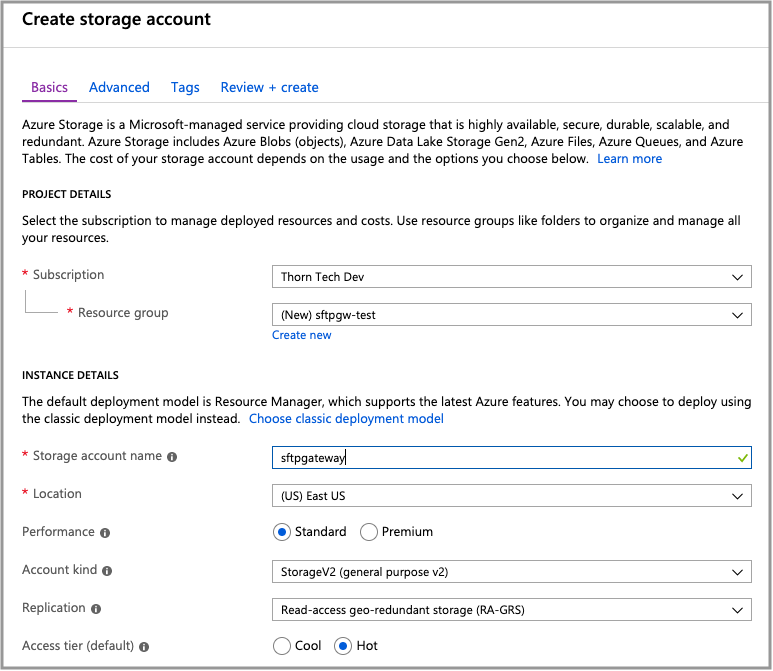
This takes you to the Create storage account screen.
 .
.
On the Basics tab, fill out the following fields:
- Resource group: Click the Create new button and specify a name.
- Storage account name: Enter a globally unique name.
- Account kind: Change StorageV2 to BlobStorage.
- Replication: To save on costs, select Locally-redundant storage (LRS).
Click Review + create
On the Review + create screen, click Create.
For more information, see the official documentation.
2. Get the Storage Account access keys
Go to Storage accounts > Access keys.
Under key1, copy the Key string.

3. SSH into the virtual machine
Find the Public IP address for your VM. For details on how to do this, see this article.
SSH into the VM. For details on how to do this with PuTTY, see this article.
From Mac or Linux, use the following command:
ssh -i private.key username@ip-address
When prompted that the authenticity of host can't be established, type yes to proceed. This appears the first time you SSH into any VM.
4. Set the Storage Account keys
This gives SFTP Gateway access to your storage account.
Run the following command:
sudo /usr/local/bin/storage-account-setup --account-name "your-storage-account-name" --account-key "your-account-key"
- account-name: Use the name of your storage account.
- account-key: Use the Key you copied earlier from Key1 of your storage account.
5. Reset the admin password
By default, the admin user for the web interface has a password set to the Computer Name of the VM.
Reset the admin password using the following command:
sudo /usr/local/bin/resetadminpassword -p "your-new-admin-password"
6. Open the web interface
Navigate to the VM's Public IP address from a web browser.
You will see a landing page with a link that says Click here. Click this link, and the HTTPS site will load in a new tab.
You will see some SSL warnings. Follow the instructions from the landing page to bypass these warnings.
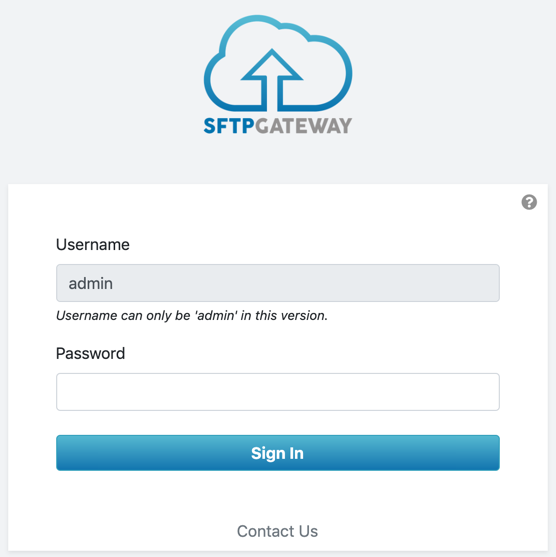
Finally, you should see the login screen. Enter the password that you set in the prior step.

Where to go from here
Next, visit the Azure Basic Usage page to create an SFTP user and upload a file.
Updated