Wiki
Clone wikiqatrackplus / v / 0.2.9 / admin / tutorials / step_by_step_test_list / test_list_start_to_finish
A step-by-step introduction to QATrack+ administration
This guide will take you through:
-
Logging in and accessing the admin interface
-
Changing the name displayed at the top of your QATrack+ website
-
creating a radiation unit
-
creating different user groups
-
configuring test statuses
-
setting up a test list for performing a linac output measurement,
-
and finally setting references and tolerances for your tests.
This tutorial assumes your website administrator has QATrack+ configured and running on a server somewhere and has assigned you a username/password with superuser status.
Logging in and accessing the admin interface
Access QATrack+ (your website adminstrator should have provided you with a URL) in your favourite webbrowser. QATrack+ looks and works best with Chrome or Firefox but Internet Explorer versions 7 and up are also supported.
If you are not already logged in, you will be taken to the login page:
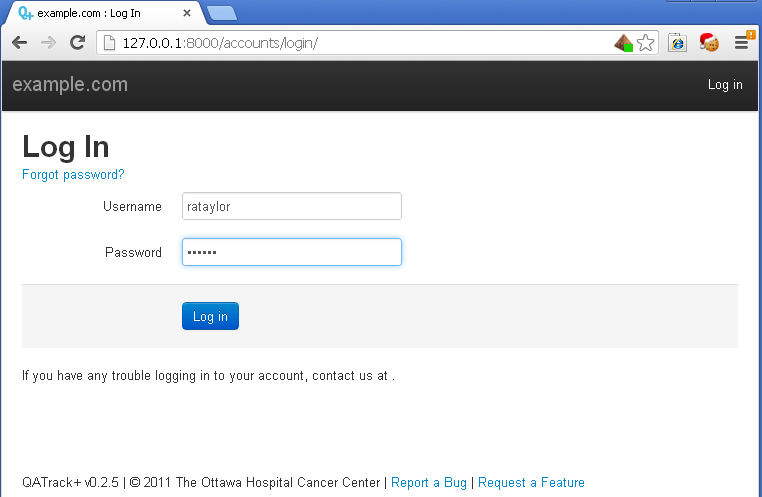
enter your username and password and click the Log In button.
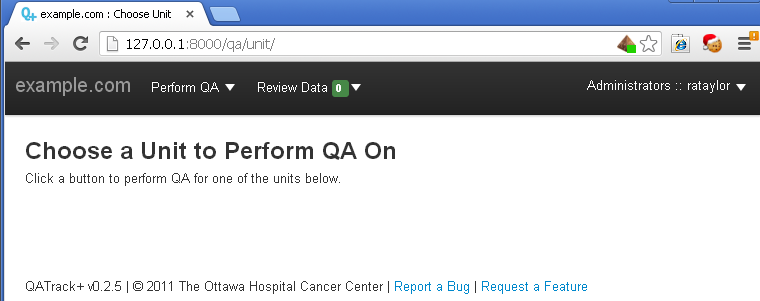
After logging in, you should see a screen similar to the one below. There's not much here since we haven't defined any units or test lists yet but in the top right hand corner beside your name you should see that you are part of the Administrators group.
Click the little dropdown arrow next to your name in the top right hand corner, and then select the Admin option from the dropdown menu.
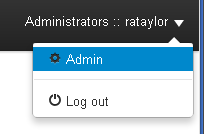
This takes you to the main admin page where you will be doing all of your QATrack+ configuration.
Setting up the name of your QATrack+ website
As you may have noticed in earlier screen shots, the words "example.com" are displayed at the top of your website. Let's change that to "QATrack+".
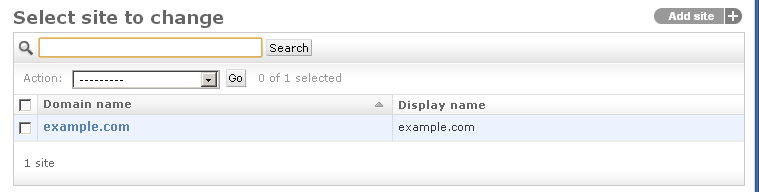
From the main admin page find the Sites section and click on the Sites link.

Click on the example.com entry under the Domain name column header.
and then set the relevant fields (ask your admin if you're not sure of the domain name to use) and click Save when you're finished.
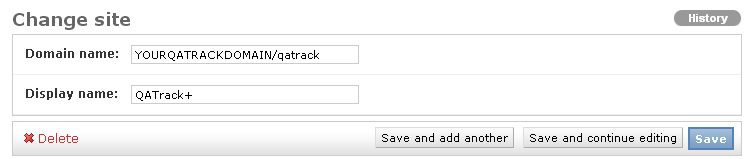
If you now return to the main site (at any time you can click the QATrack+ administration header at the top of the admin pages to return to the main QATrack+ site) you should see your site now says QATrack+ at the top rather than example.com.

In the next step of this tutorial we will configure a new radiation unit.
Updated