Wiki
Clone wikiXMALab / XMALab User Interface
Start Window
When XMALab is opened, the first screen allows you to choose how to open a file. If you have worked on .xma files previously, the last ten recent files are listed for easy access. Below the recent files, there are three options: New dataset, New trial without calibration, and Open .xma file. For more information on these options, see Creating a new Dataset (.xma file) in the Table of Contents.
XMALab Workspaces
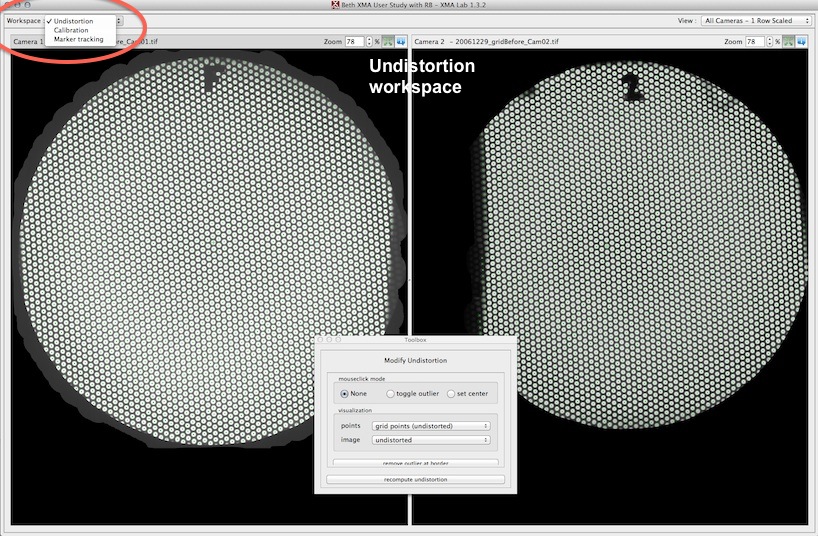
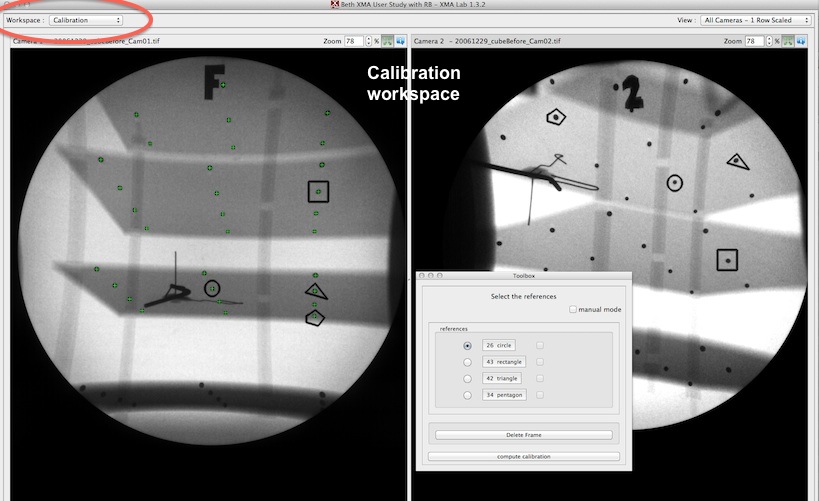
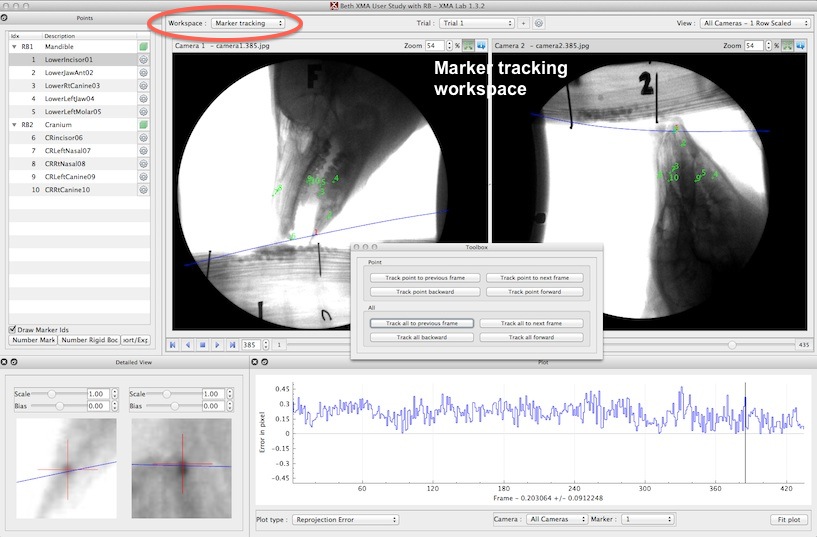
There are three XMALab workspaces: Undistortion, Calibration, and Marker Tracking. These correspond to the main steps in the XMALab workflow, and you will move through them in that order.
The toolbox window always remains open, but its options are different in each workspace. There are also other windows that can be opened within each workspace, and these windows are described in the next section of this page.
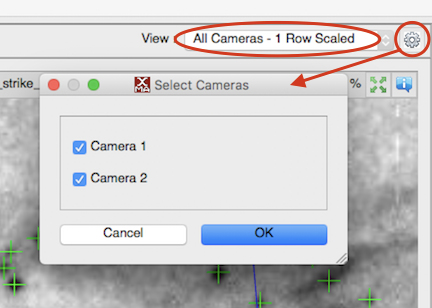
A "View" dropdown menu is in the top right of the workspace. This menu allows you to change how the two camera views are arranged on your screen. To only view one camera at a time, click the cogwheel to the right of the view dropdown menu and select which camera you want to display. If you are only interested in one of the cameras, hiding the other one speeds up processing because tracking or marker refinement will only be performed in the visible camera.
Each camera has an info box that can be opened up. The type of information that it contains is different for each workspace. In the Undistortion and Calibration workspaces, it shows information about undistortion and calibration quality. In the Marker Tracking workspace, the scale and bias sliding bars can be used to improve visibility of the markers, and if you have imported bone models, they can be made transparent.
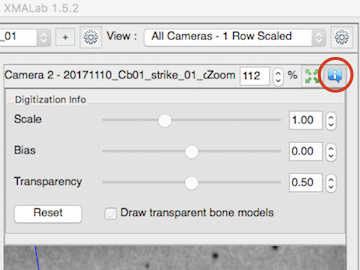
While in the Marker Tracking workspace, another dropdown menu, "Trial," is available. The "+" box allows you to add a new trial to the .xma file. The cogwheel allows you to edit the trial settings and change the trial data (i.e. the trial name and the image files).
XMALab Windows (views)
Use the View menu (at the very top of your screen) to open and close windows. The windows can be rearranged by dragging them to dock and undock them. They can also be stacked on each other. Most windows can only be accessed in the Marker Tracking workspace.
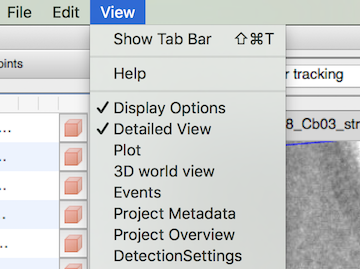
Here are short summaries of each window.
Help: has links to this XMALab User Manual and the XMALab tutorial. It contains all of the keyboard shortcuts, and it is very useful to familiarize yourself with these.
Points: used to create points and rigid bodies. Colored boxes indicate the status of the markers. Click the cogwheel to change the settings of that marker. Right-click the marker to rename it and for more options. For more information, see Marker Tracking: Create or Import Points (Markers); Marker Tracking: Marker Status; and Rigid Bodies: Create or Import Rigid Bodies in the Table of Contents.
Display Options: allows you to hide or display the marker cross, marker IDs, epipolar line, rigid body constellations, and mesh models, and choose whether to use filtered transformations. The display settings apply to the main screen and the detailed view.
Detailed View: allows you to manually set the position of a marker, without the marker cross gravitating to the nearest detected spot. The scale and bias sliding bars help make the marker spot more visible. Tracking in the detailed view is called manual tracking and is described in the XMALab Tutorial.
Detection Settings: used to improve the automatic tracking of a marker and are set for each marker individually. See Advanced: Tuning Marker Detection Settings in the Table of Contents.
Plot: There are many plot types and each plot type has different available option menus. The help window contains many keyboard shortcuts for the plotwindow. See Quality Control: Working with the Plotwindow; and Advanced: Exporting data from the Plotwindow in the Table of Contents.
Events: used in combination with the plot window to mark the frames associated with an event (such as a type of behavior). Click "Add event" and set the name. Highlight frames in the plot window by holding shift and changing frames. If you have created multiple events, only select (with the checkbox) the one(s) associated with the selected frames, and then click "Mark frames." If an event is selected, the frames associated with an event will be highlighted in the color that has been set for that event. A selected event can be modified by selecting frames and clicking "mark frames" or "unmark frames". To export a .csv file storing the frames associated with an event, go to File -> Export -> Events. See Advanced: Annotating Data by using Events in the Table of Contents.
3D World View: used to visualize the locations and orientations of the cameras, as well as mesh models if you have imported them. This view should reflect the actual, physical relationship between the cameras and mesh models. It can be used after calibration to confirm that the camera positions makes sense, and after tracking to visualize the motions of the mesh models. It has an independent timeline that can be enabled to scroll through the 3D data. See Advanced: Using the 3D World View in the Table of Contents.
Project Metadata: If the .xma file was created using calibration data and trial data that were exported from XMAPortal, then this window contains metadata from XMAPortal. See Creating a new Dataset (.xma file): from data on the XMAPortal in the Table of Contents.
Project Overview: contains an overview of all of the original file names (for calibration and tracked images) and the quality control data. This data is the same as what is shown on XMAPortal when an .xma file is uploaded.
Updated