Wiki
Clone wikiIoT_JustSmile / 2. Exploration
#Living Lab: Exploration#
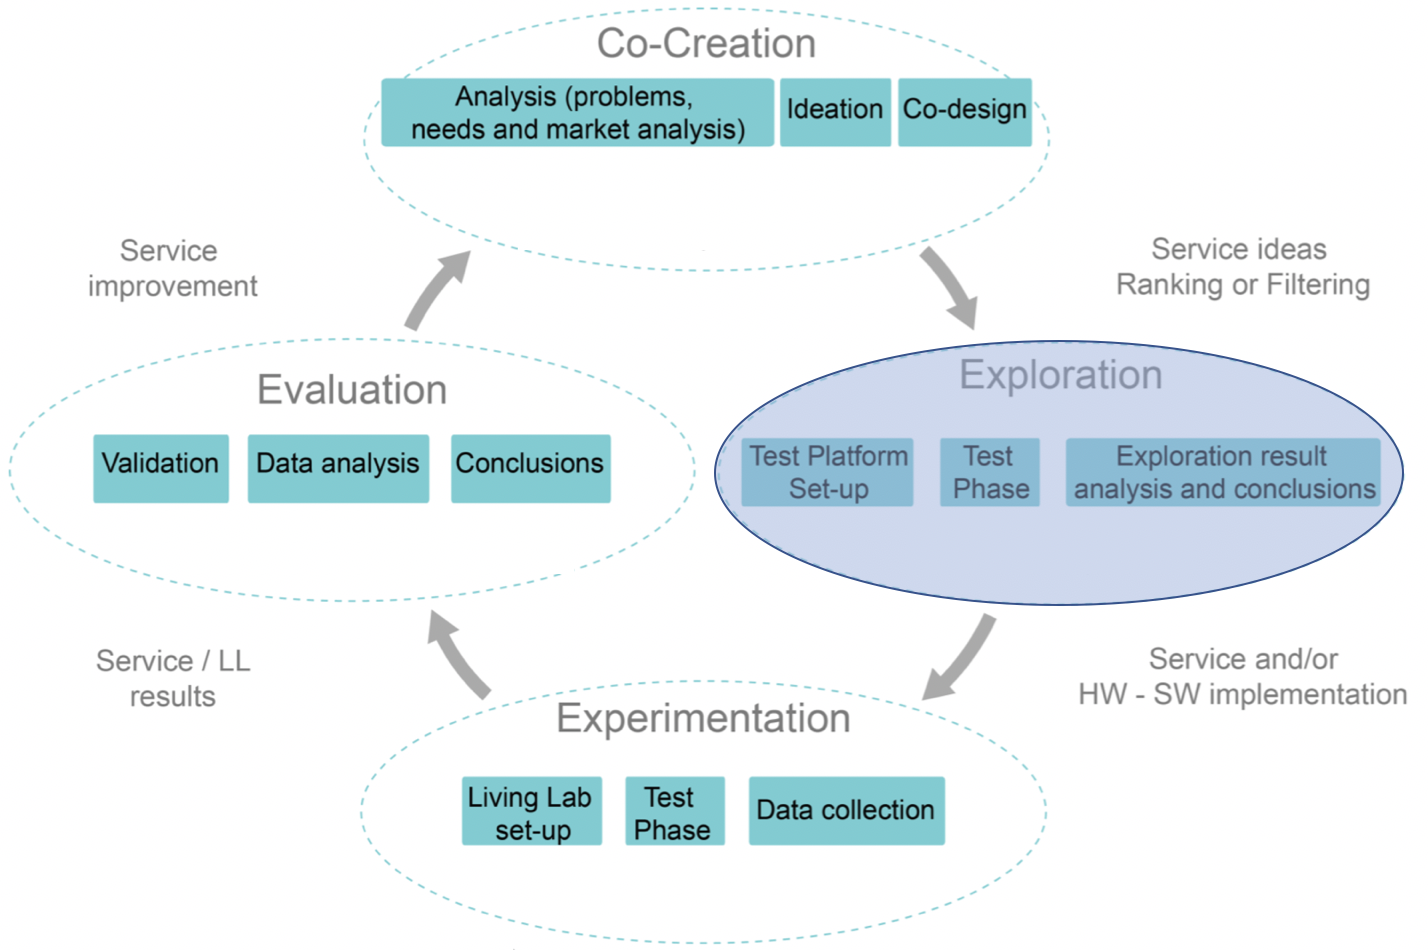
Exploration
During the Exploration phase we want to develop a first prototype and explain its technical details and describe the Communication Behaviour and Exploration Test Set Up of a further developed solution.
Prototype: How it works
The badge containing an NFC tag is read by the NFC reader in the smart table. The information is then processed by the 9to5connect application in the computing unit of the table, in the prototype version this is a Raspberry Pi, and the result is displayed on top of the table and in the seating plan and, after the meeting, sent via email to the meeting participants using the tables ethernet connection.
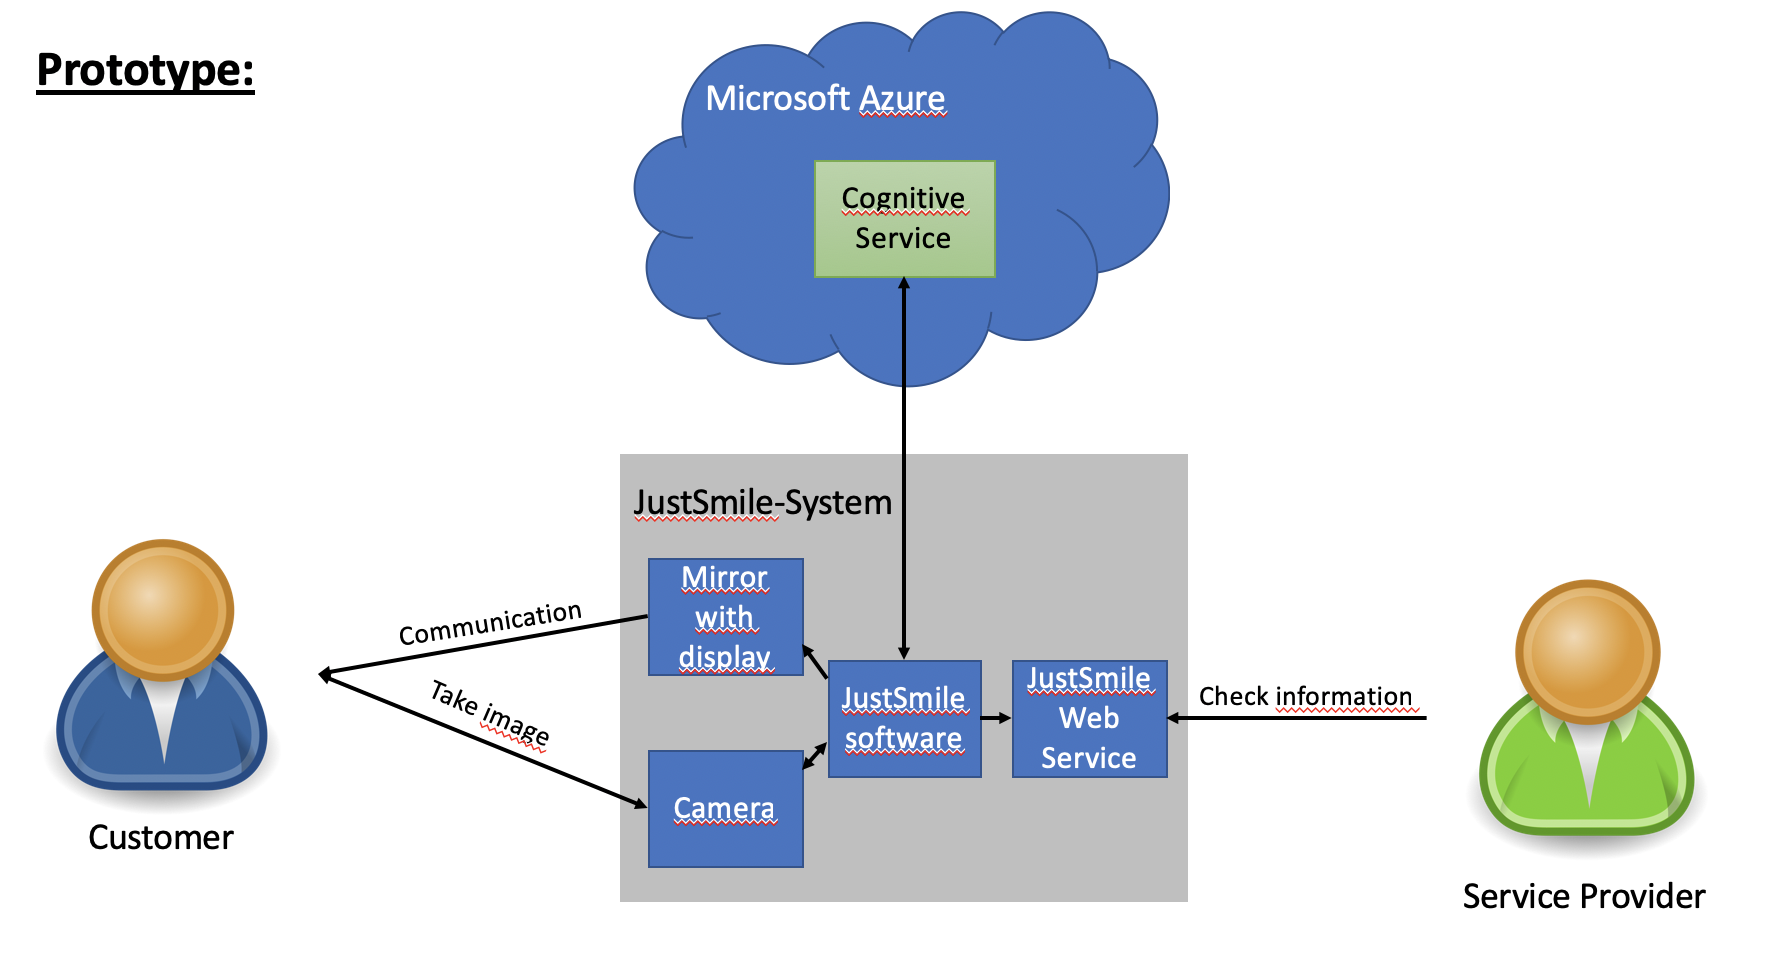
Communication Behavior
In order to better understand the Communication Behaviour of our solution we documented the topology, the messaging principle and the data transport.
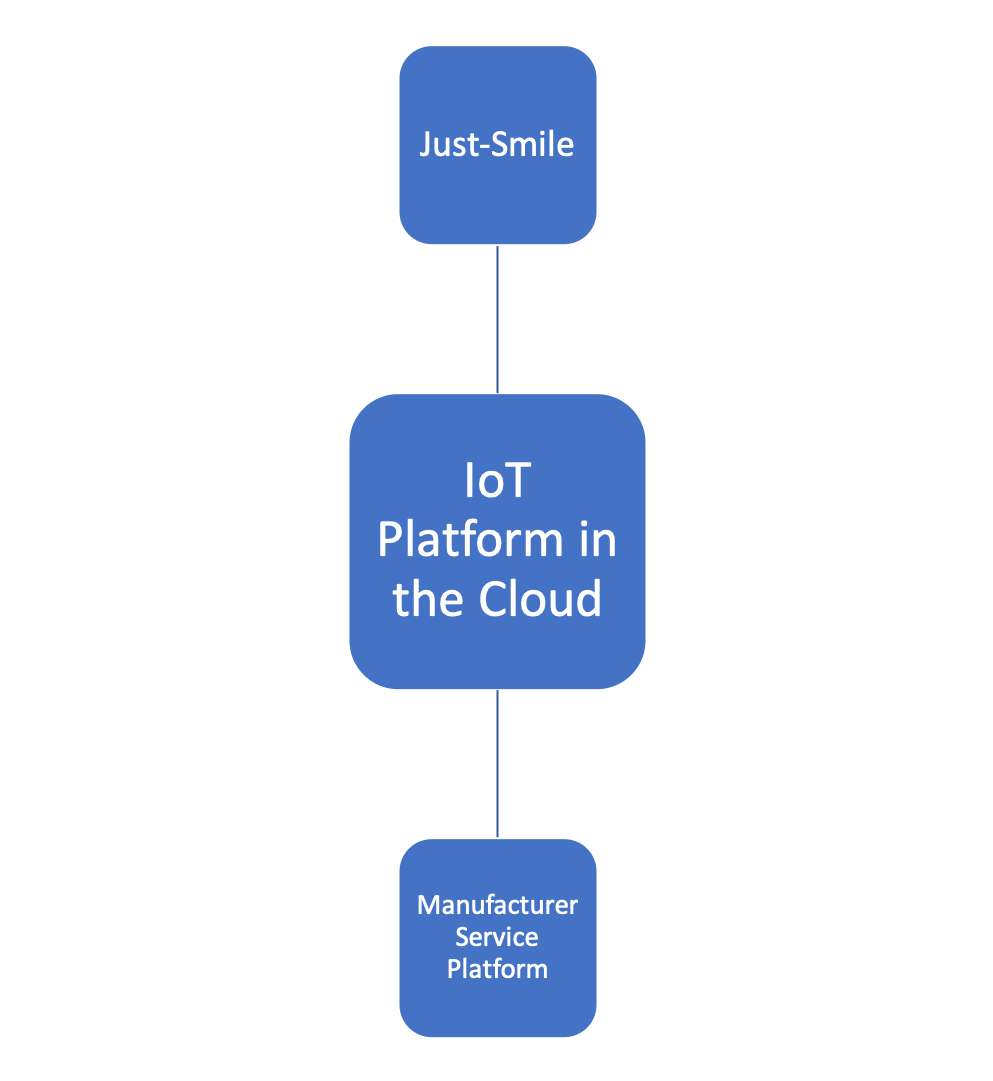
Star topology
-
IoT Platform as central node.
-
No direct communication between JustSmile and Manufacturer Service Platform, communication only via IoT Platform.
-
Simple to administrate, but risk due to single point of failure.
Messaging: Push principle
-
Every exchange of messages is initiated by a sender.
-
After recognizing the feedback through JustSmile, the data is then transmitted to the IoT Platform, which is hosted in the Cloud.
-
Afterwards, the processed data is then transmitted to the Manufacturer Service Platform to be evaluated.
-
The data with the information regarding the feedback is then sent from the Manufacturer Service Platform, through the IoT Platform and displayed on the Mirror.
Sporadic Data transport
-
The data comes at random intervals.
-
Few data / messages are exchanged in each case.
-
A data transfer is only triggered when a feedback is given via face recognition.
Exploration Test Set Up
We created a functional and efficient test infrastructur to conduct test cases in a specific time frame.
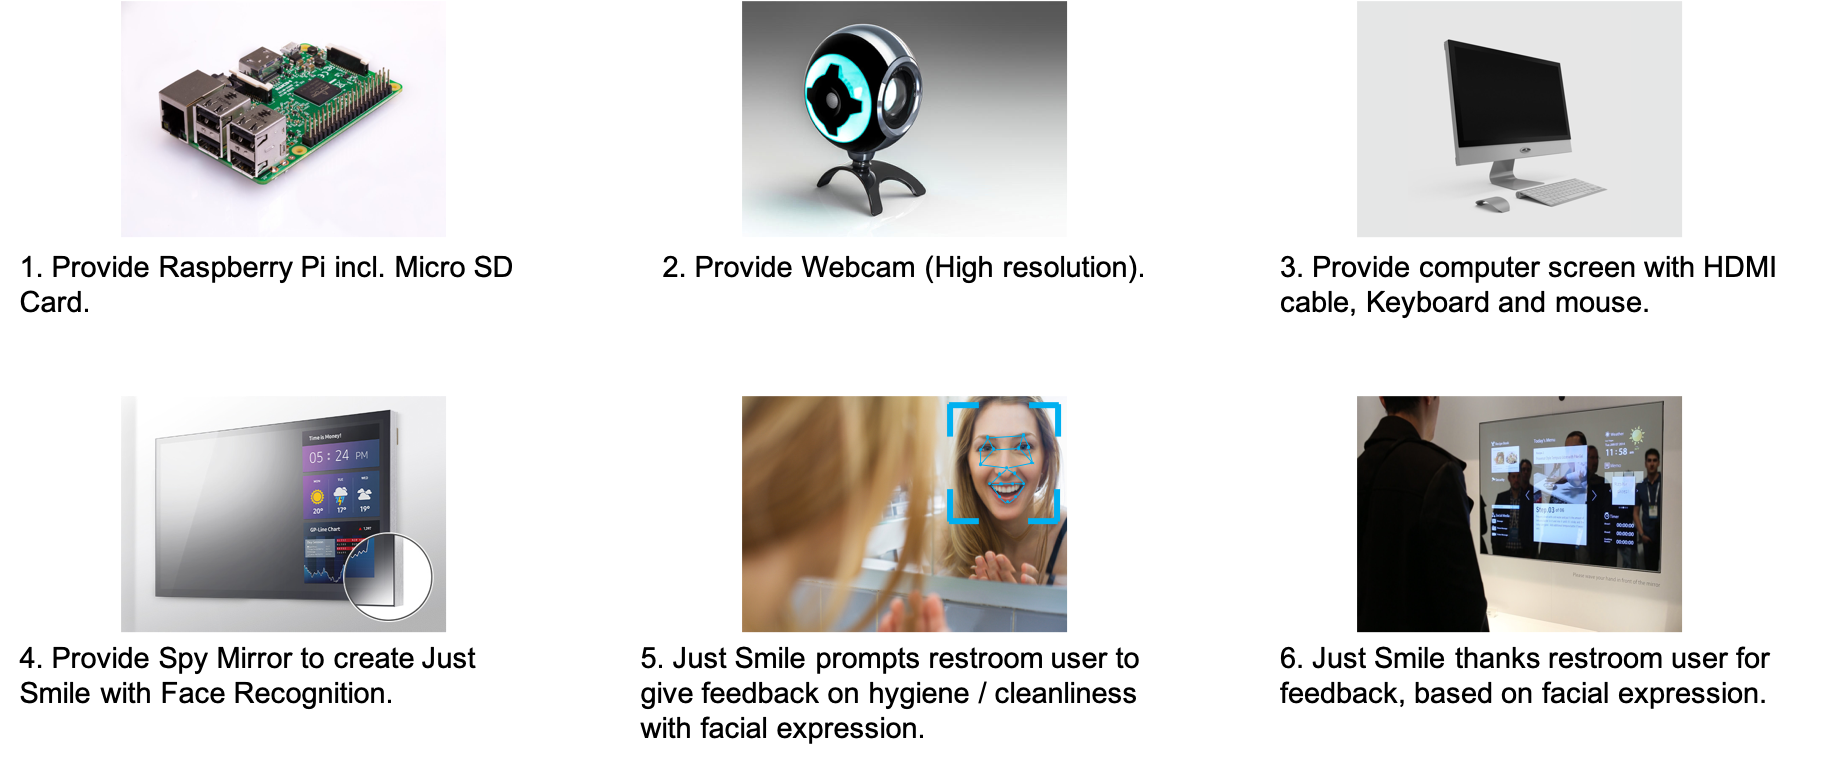
How to use our prototype
1 Necessary hardware/accounts
To setup a new JustSmile mirror, you're going to need following hardware:
- 1x Raspberry Pi incl. Micro SD Card
- 1x Webcam (High resolution)
- 1x computer screen
- 1x HDMI cable
- 1x Keyboard and mouse
- 1x semipermeable mirror (min. screen size)
- Microsoft Azure Account
2 Installation
2.1 Install Rasbian Stretch
Please follow the instructions on: Download Rasbian
2.2 Update OS
Please open your console and run following commands to update your Arabian OS.
sudo apt-get update
sudo apt-get upgrade
2.3 Update all installed dependencies
Please run following command in your console to update all already installed dependencies.
sudo pip freeze — local | grep -v ‘^\-e’ | cut -d = -f 1 | xargs -n1 pip install -U
2.4 Install all required dependencies
The following commands are going to install all required dependencies such as azure etc. Please also run following commands in your console.
sudo apt-get install build-essential libssl-dev libffi-dev python-dev
sudo apt-get install build-essential libssl-dev libffi-dev python3-dev
sudo pip install azure
sudo pip install requests
sudo pip install feedparser
sudo pip install Pillow
sudo apt-get install python-imaging-tk
sudo apt-get install apache2 -y
sudo apt-get install php libapache2-mod-php -y
3 Setup
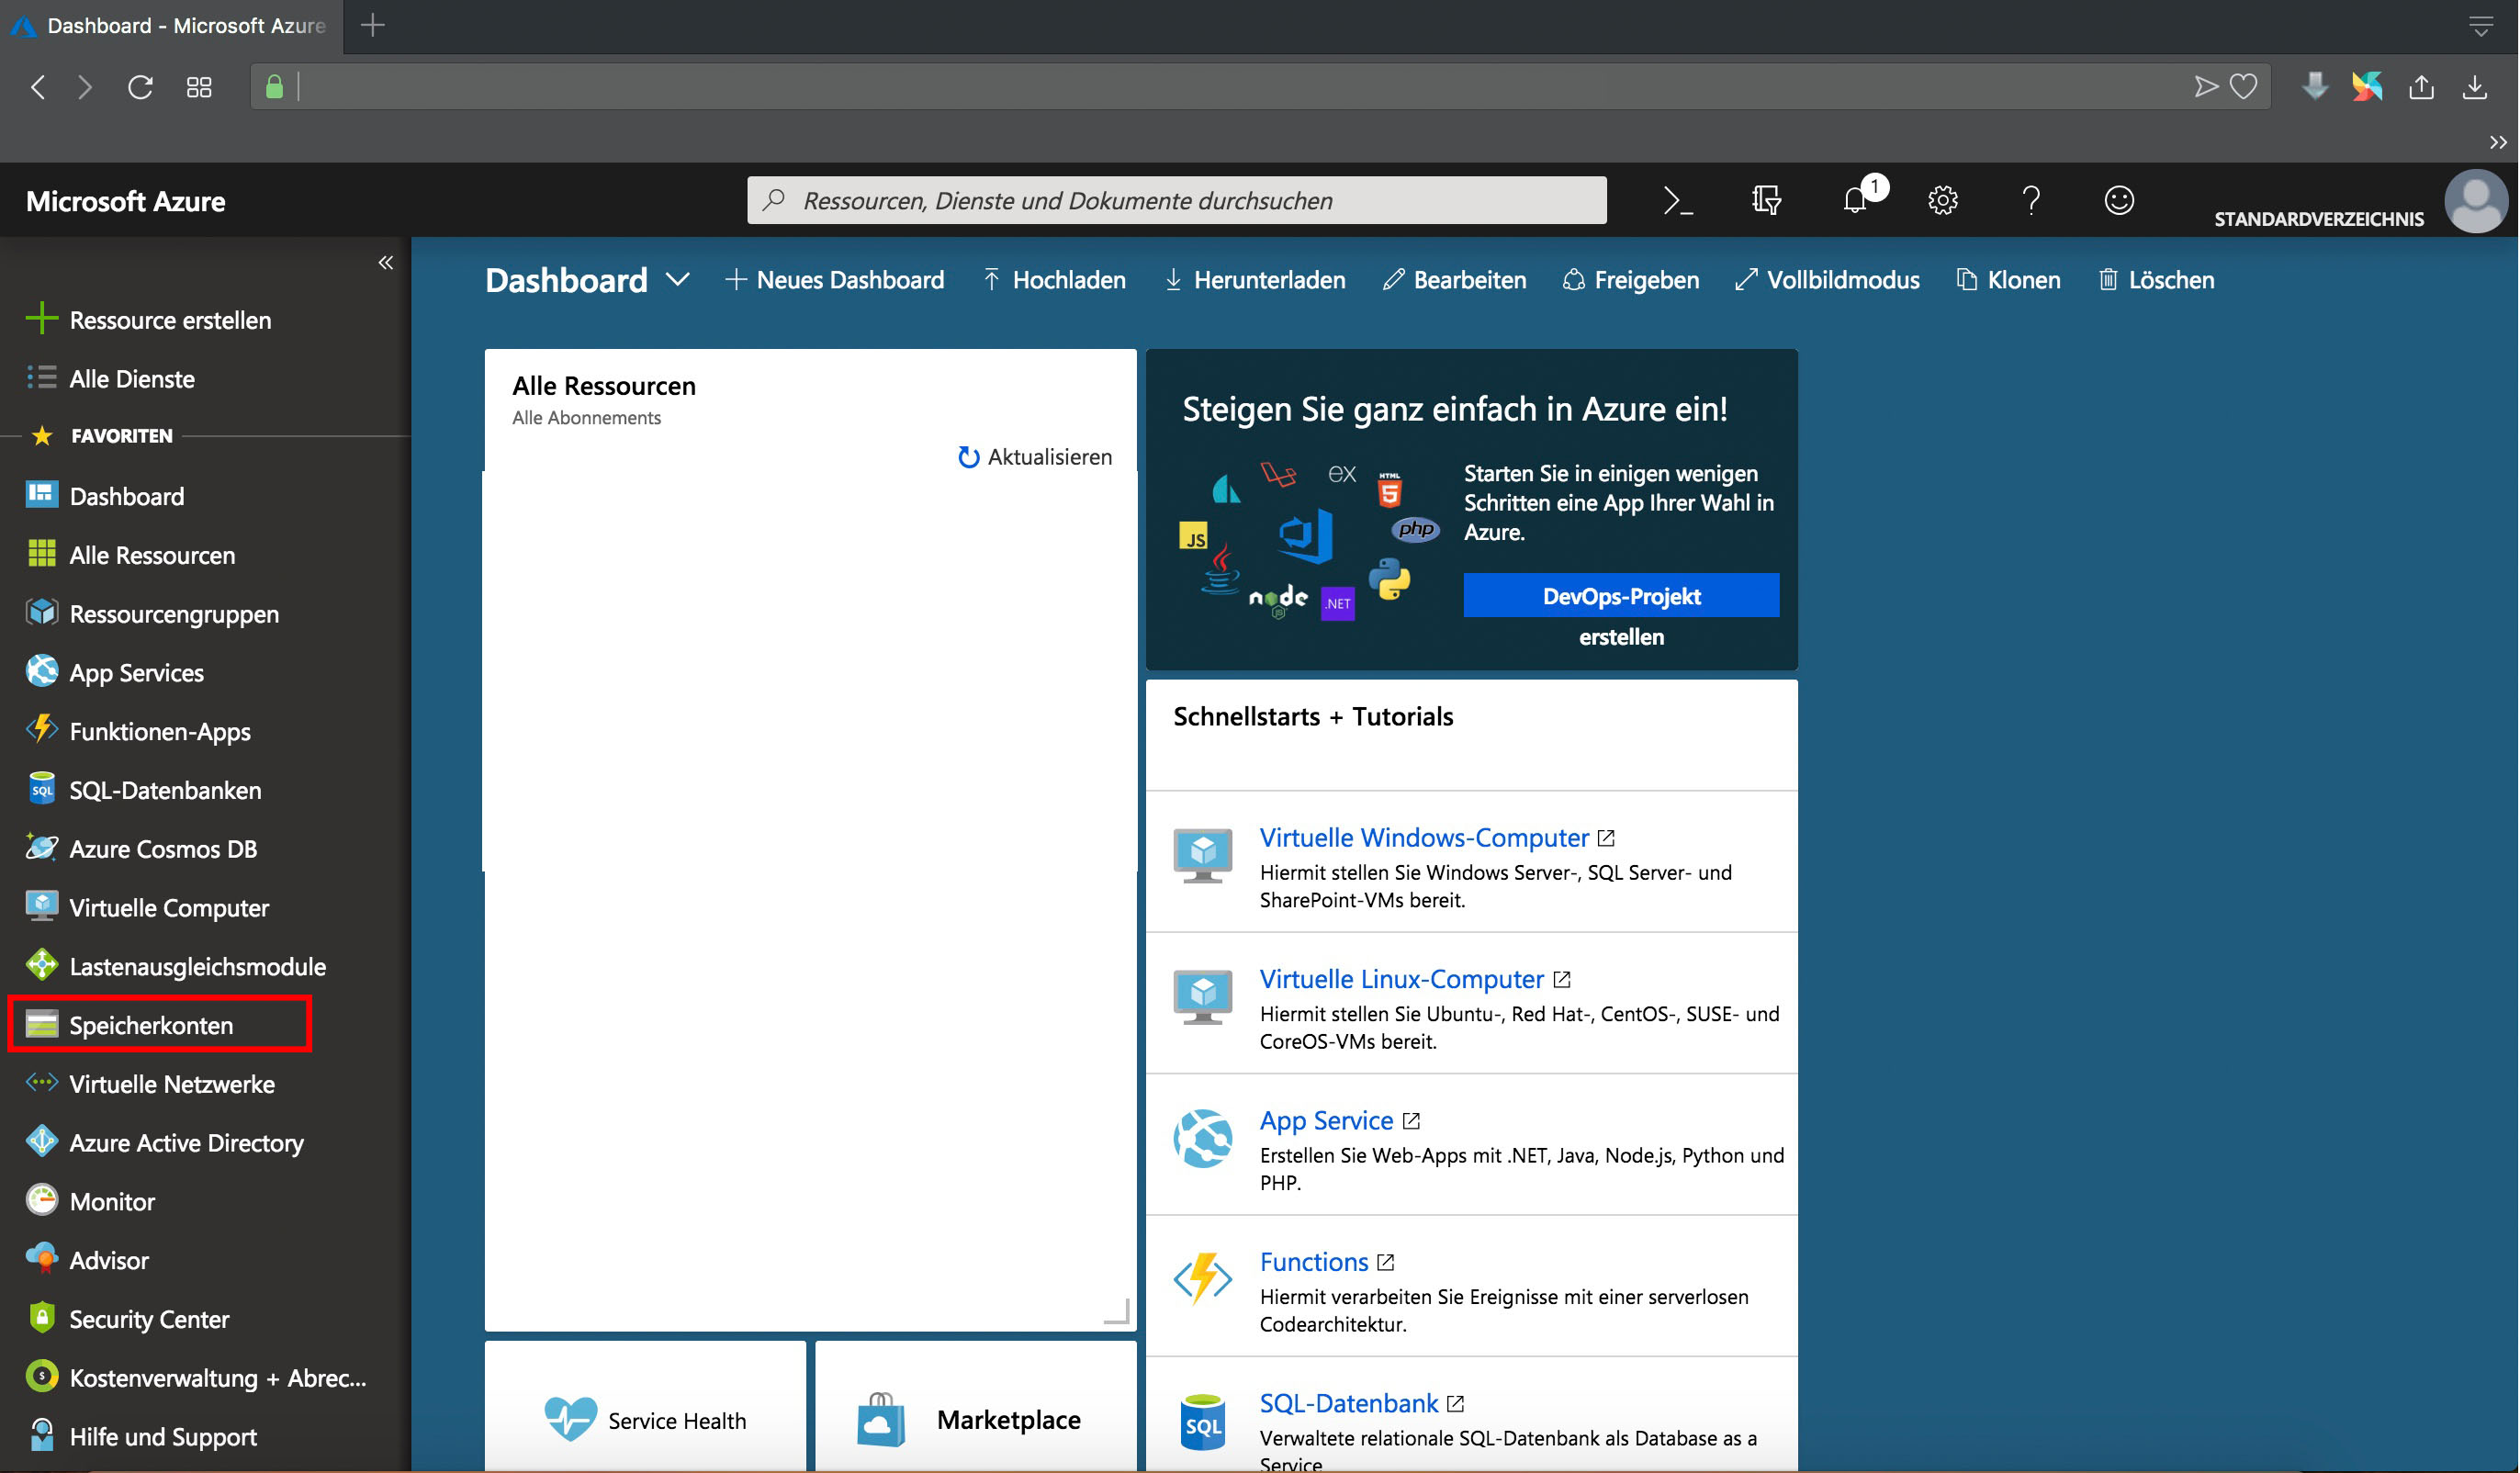
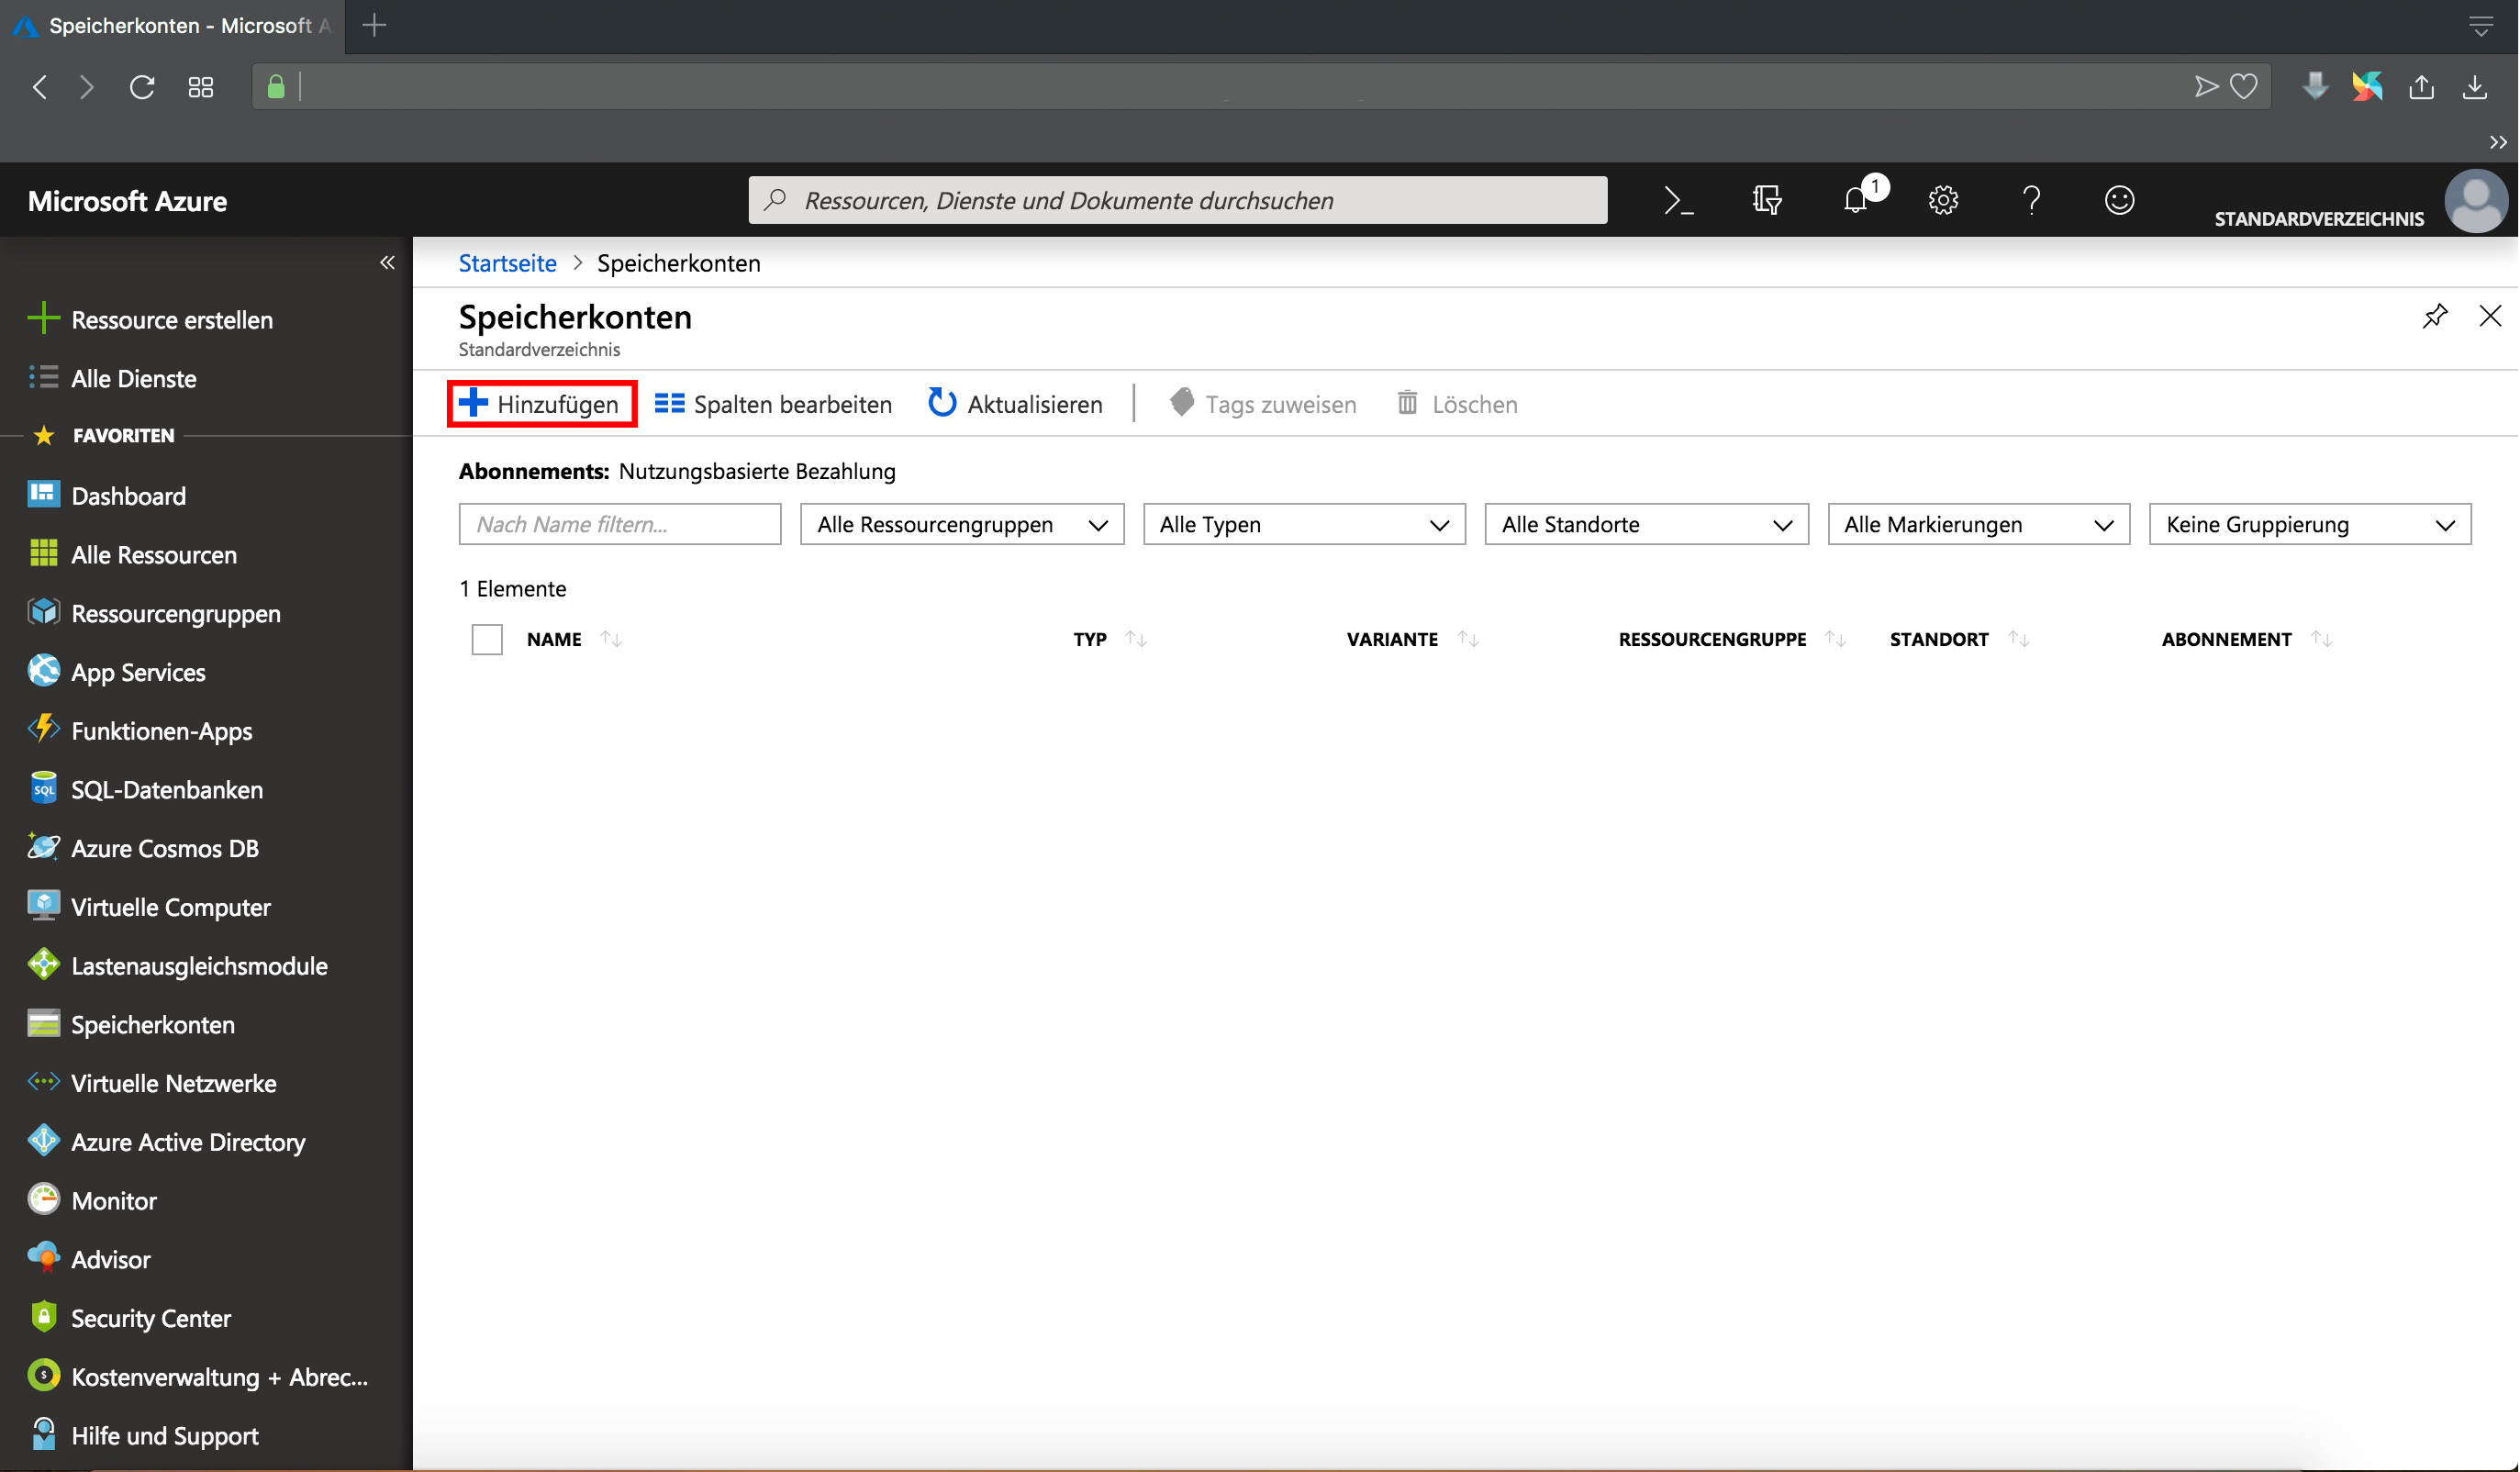
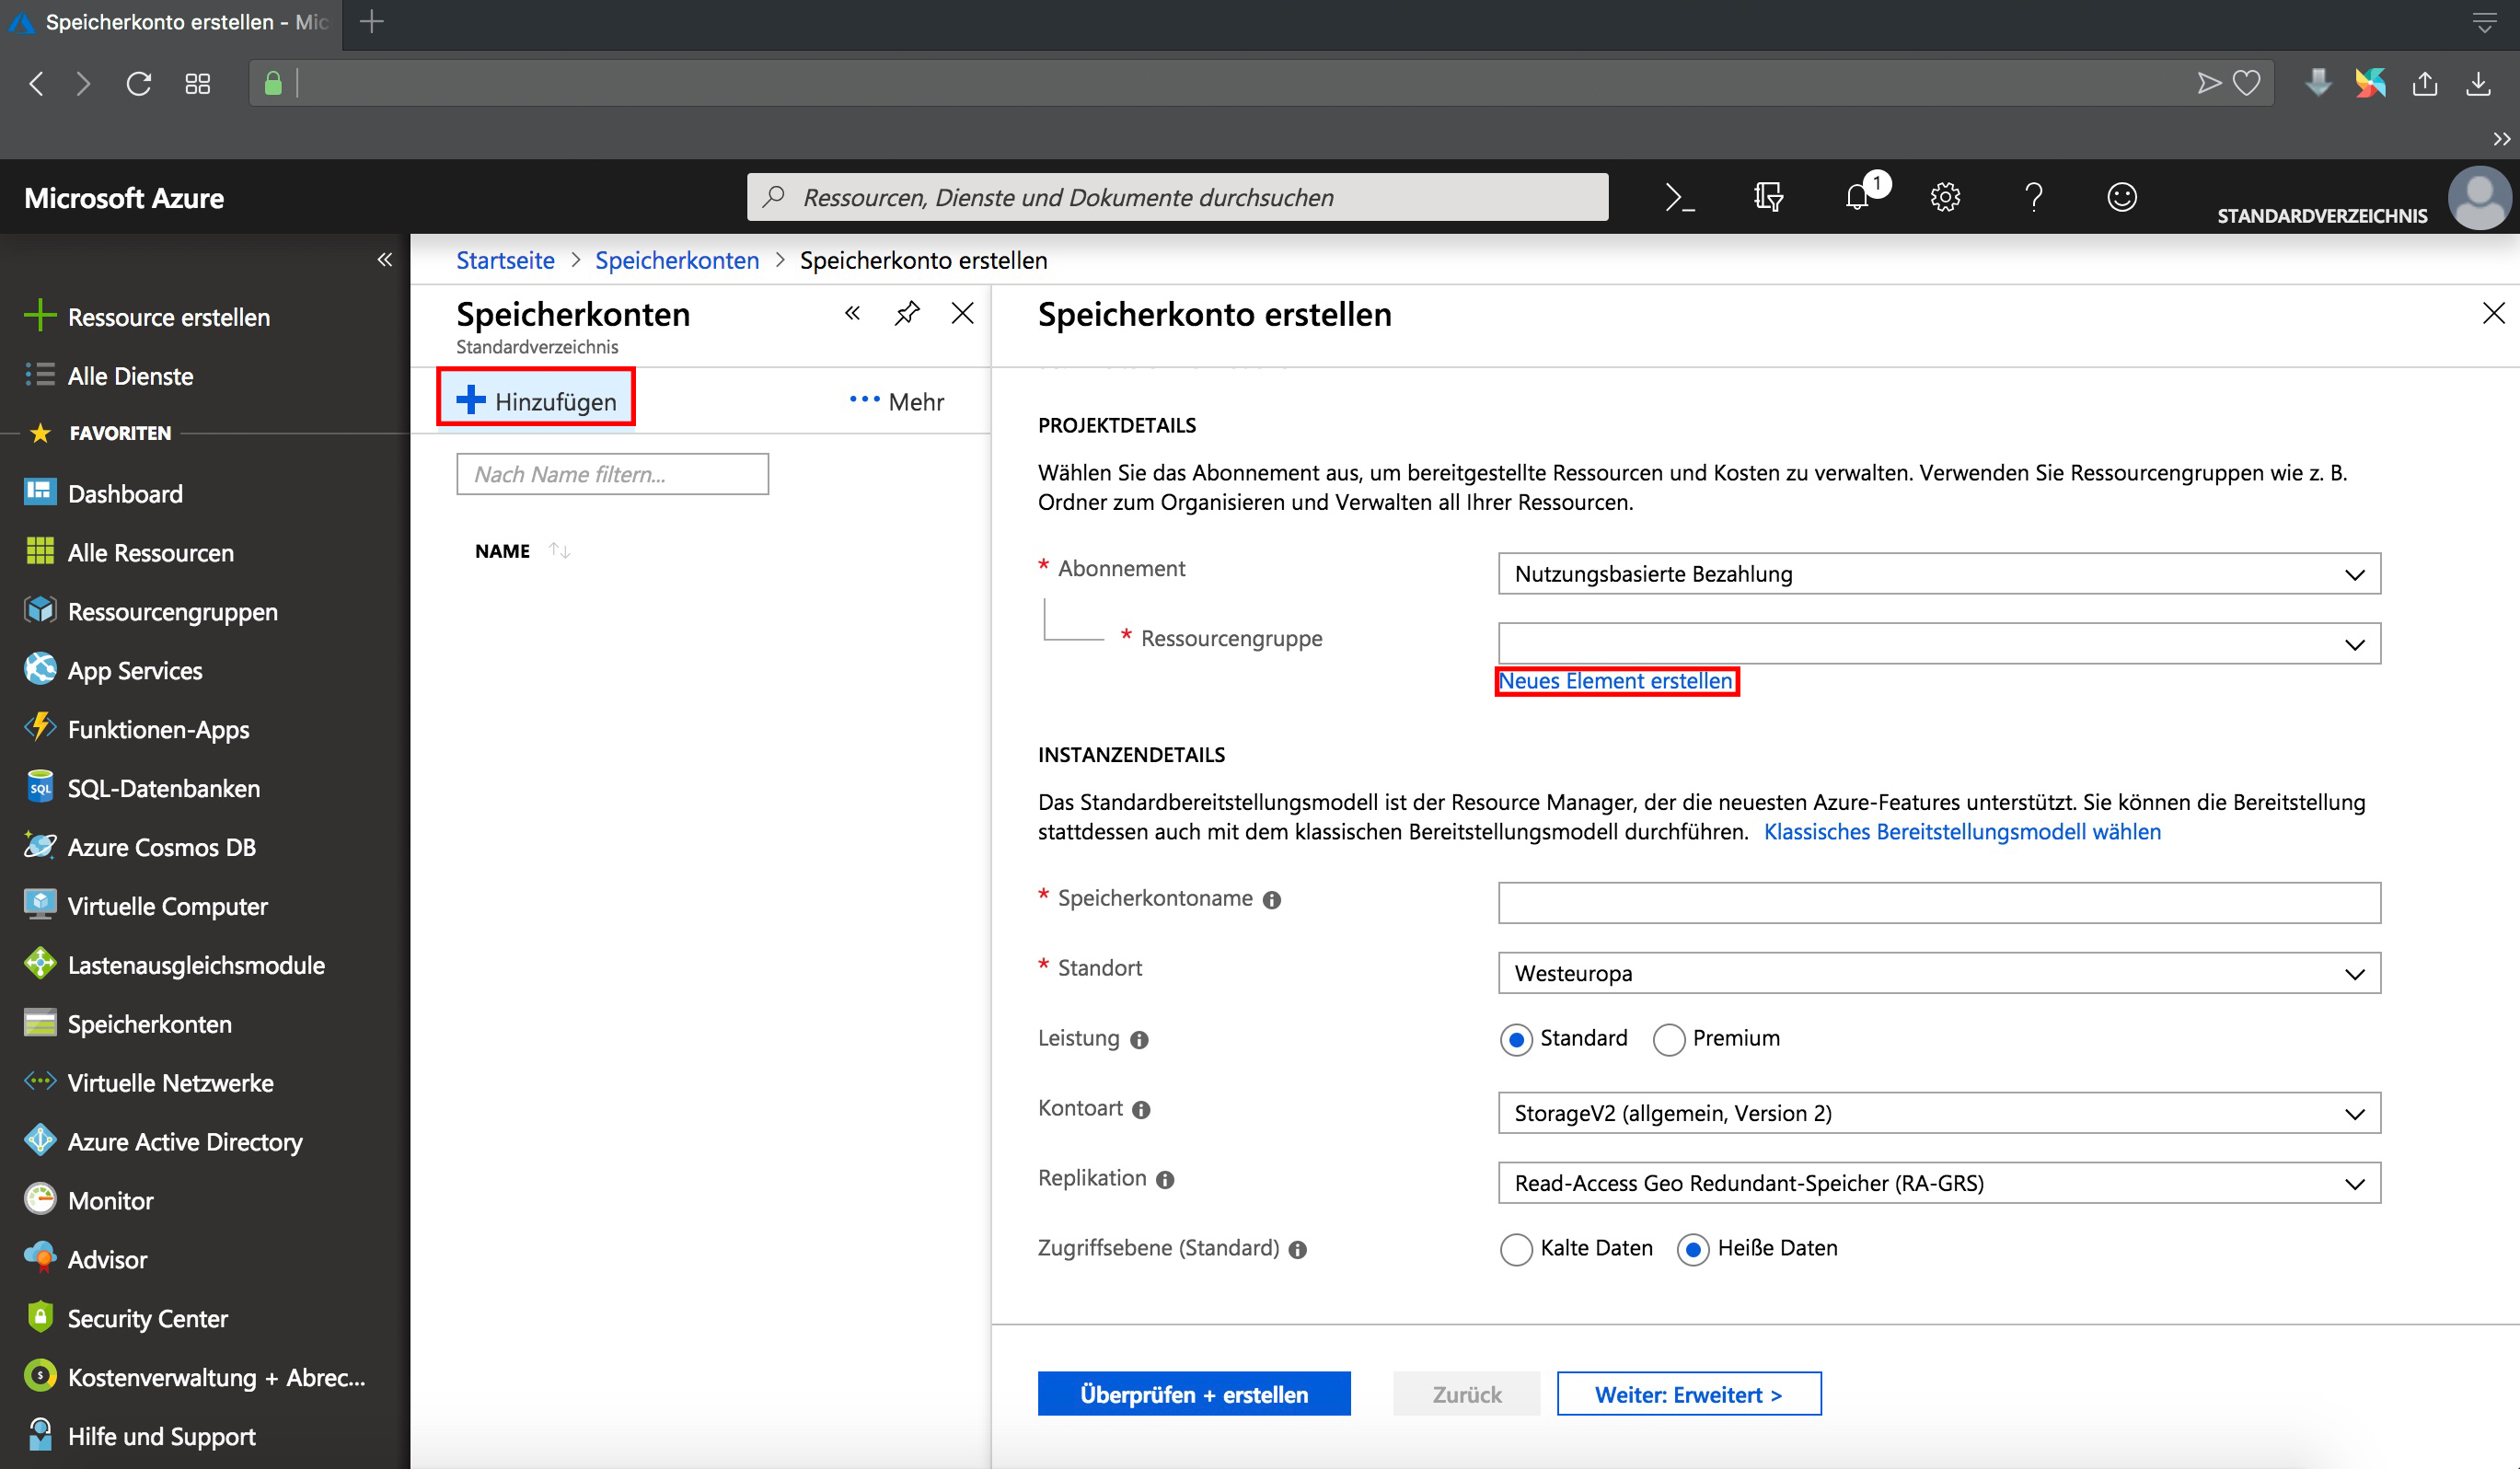
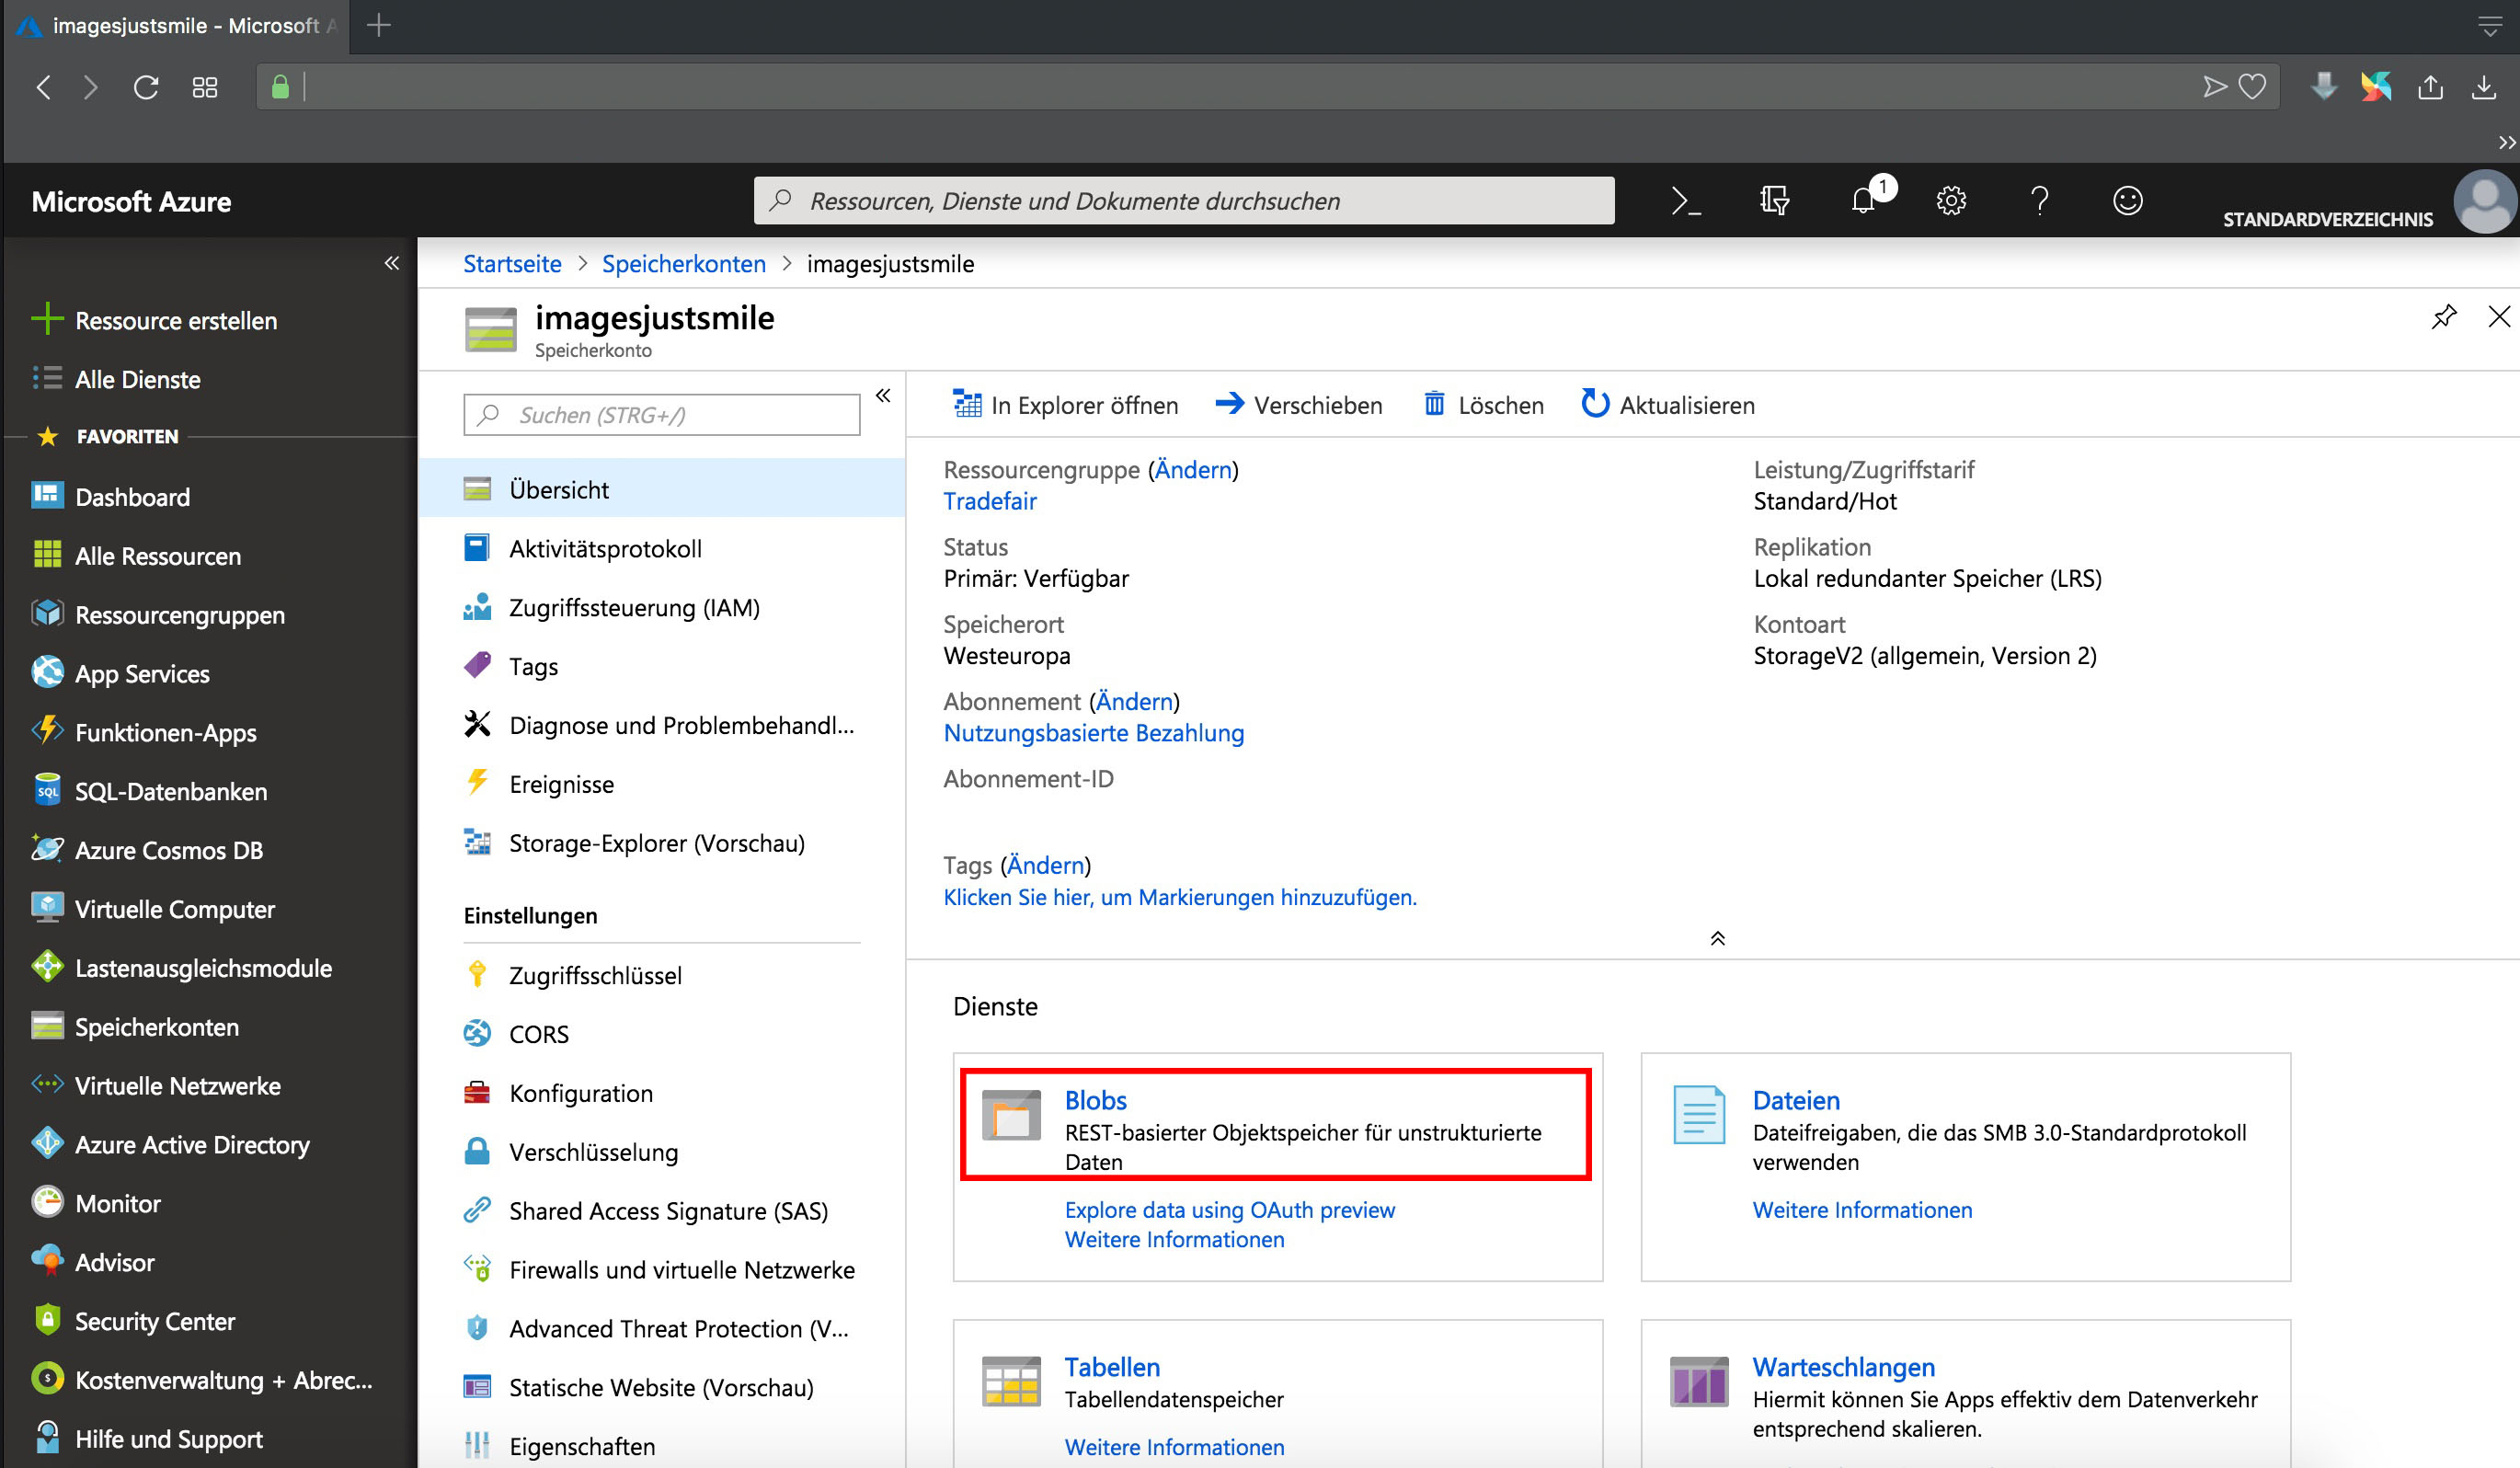
3.1 Setup Azure Cloud Storage
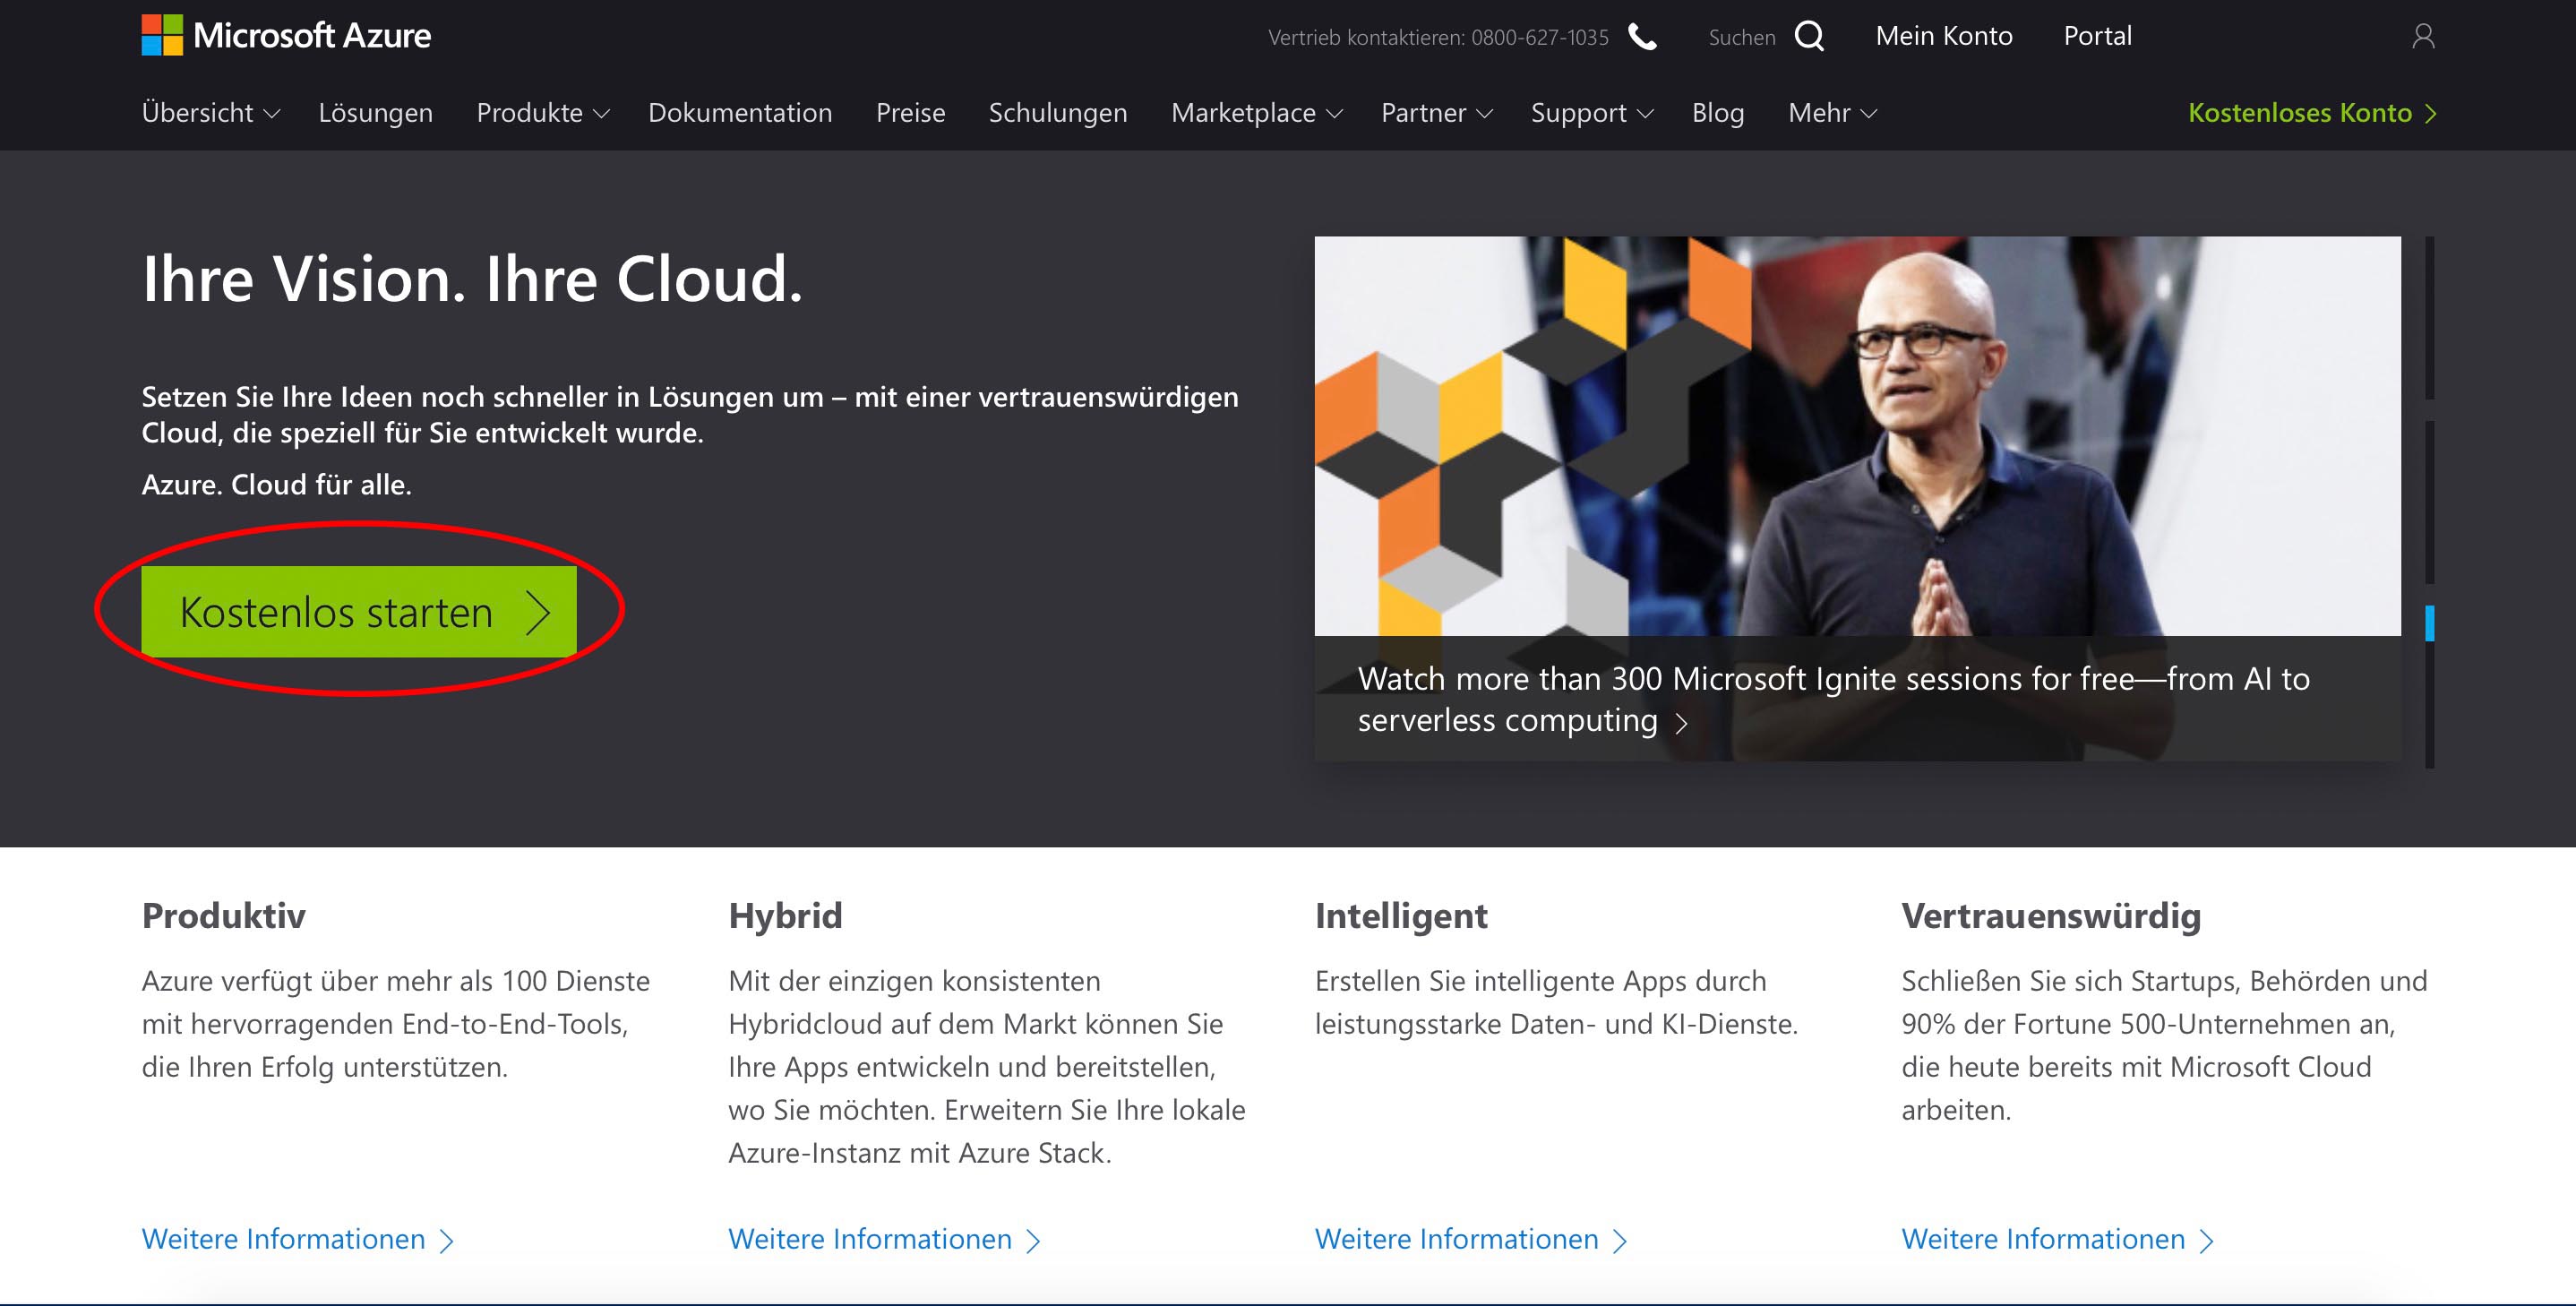
3.1.1 Create an account
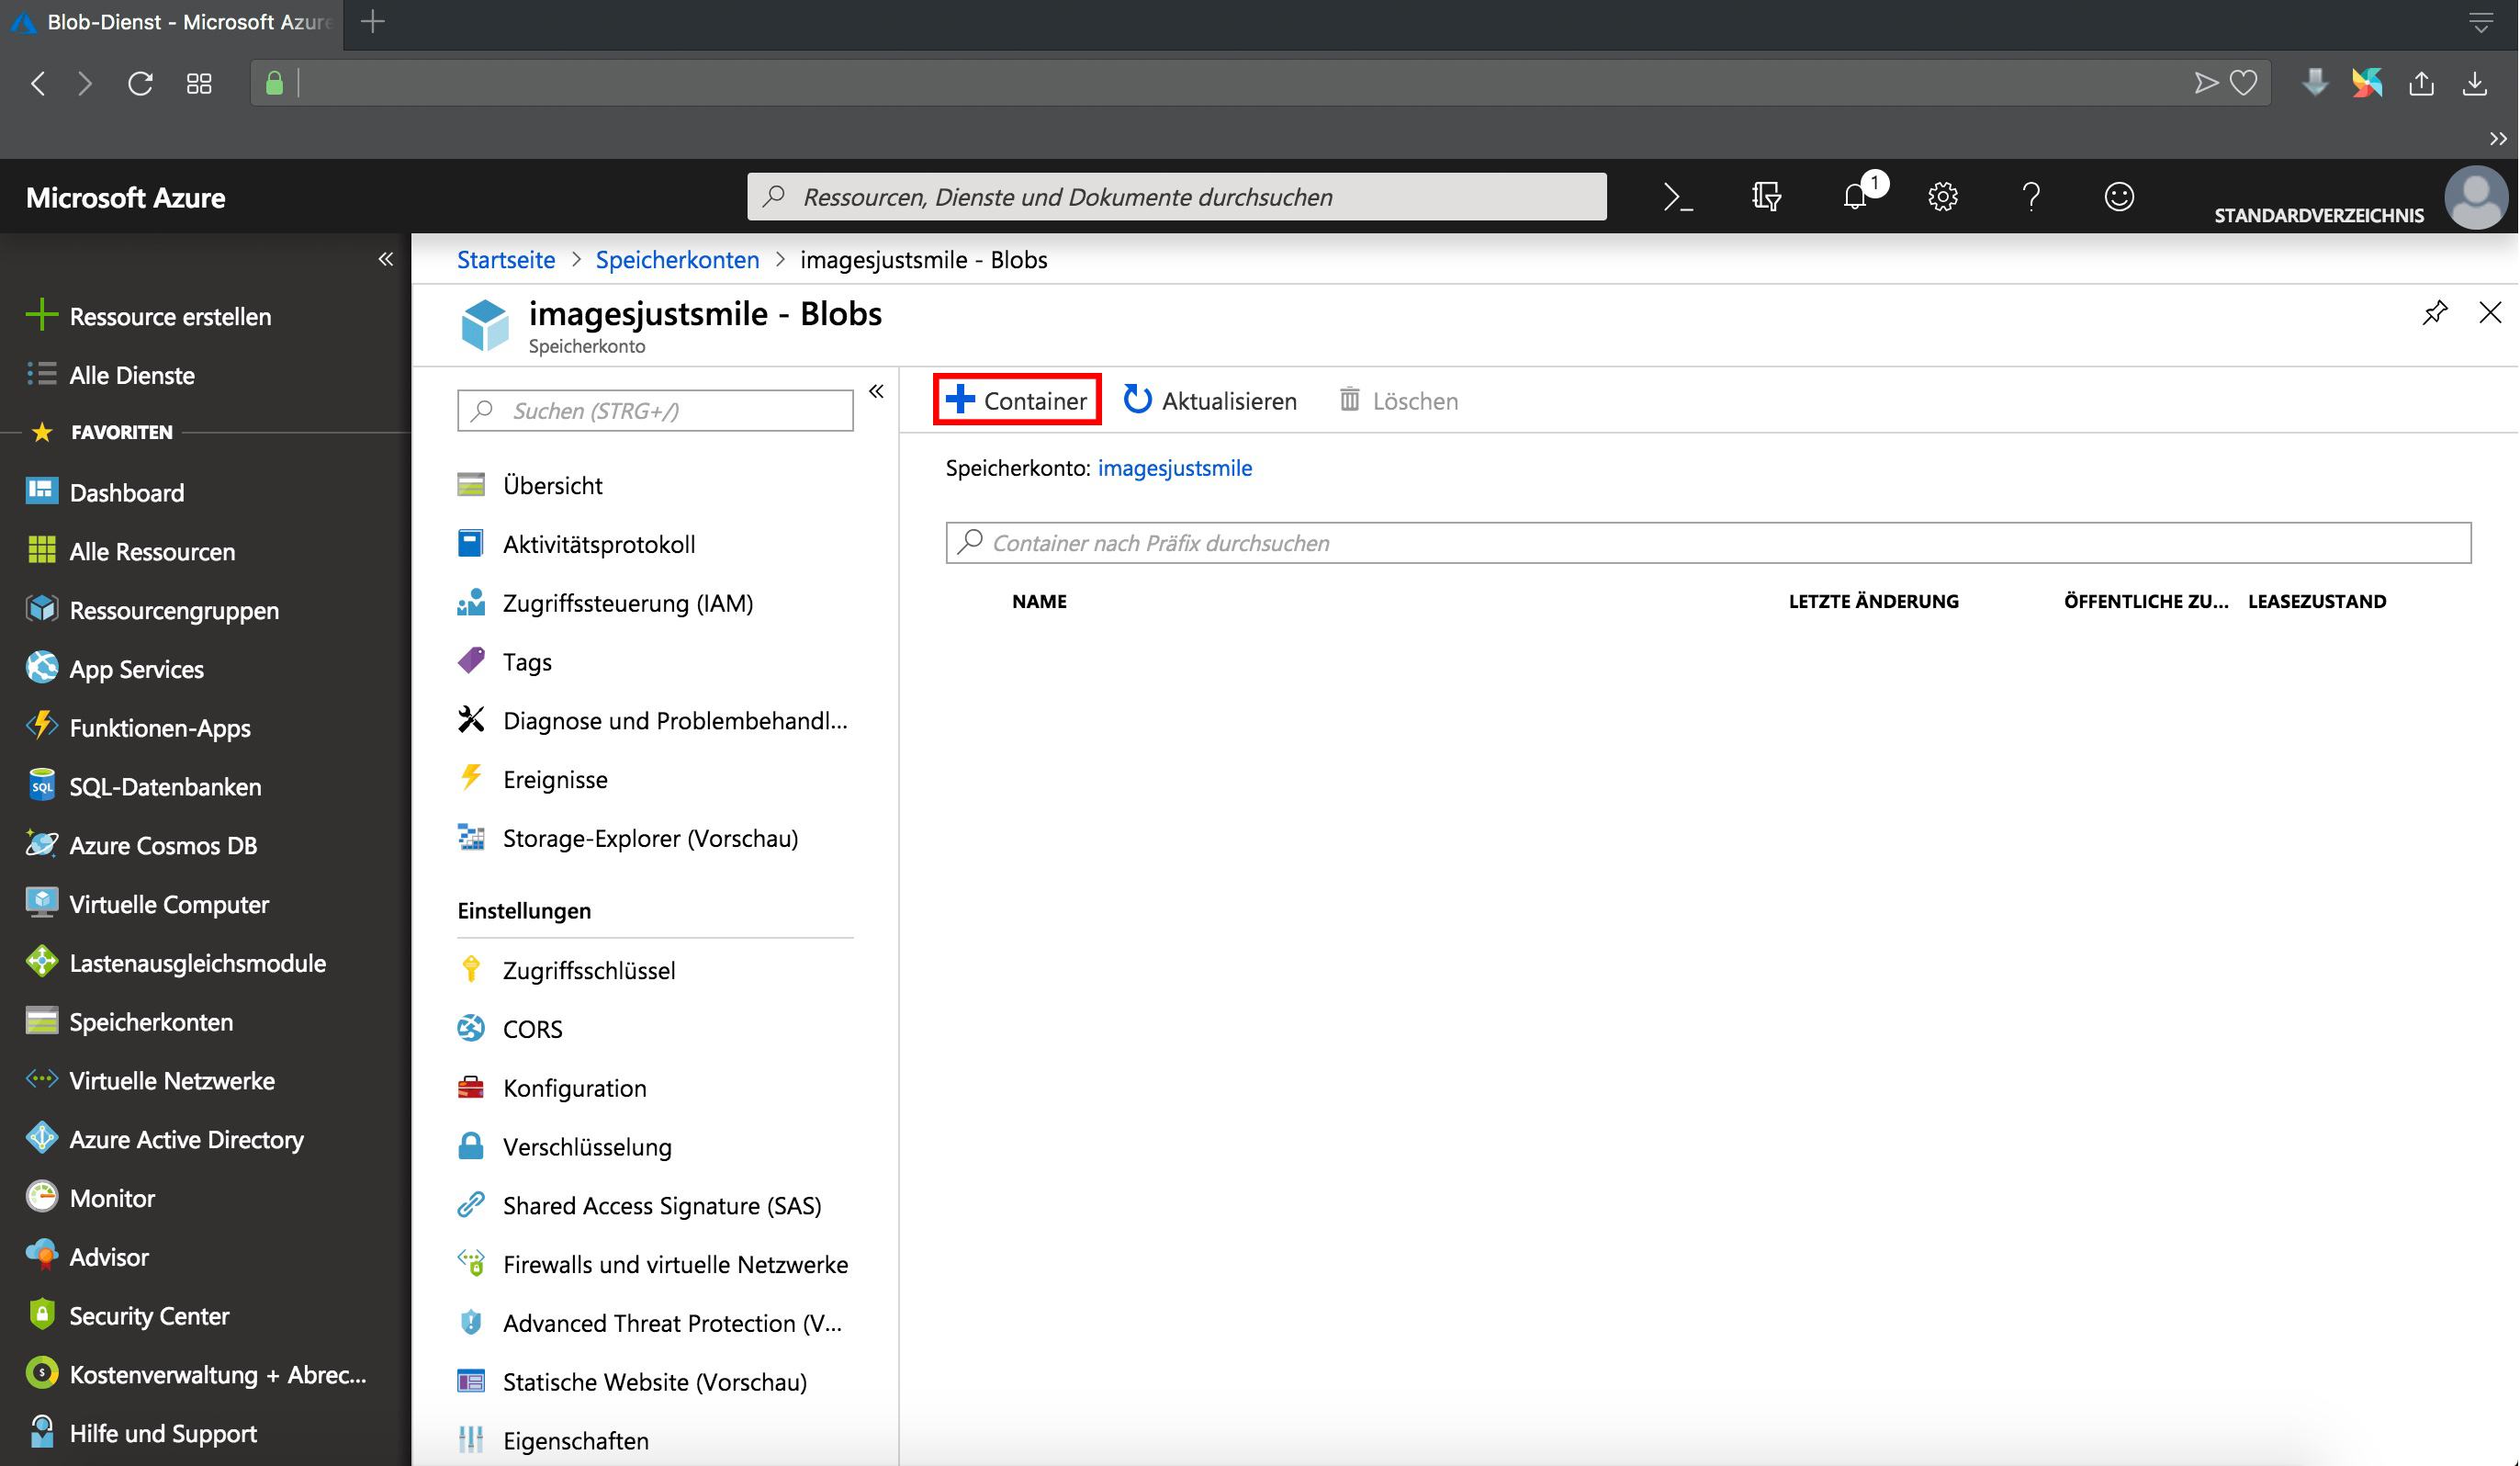
3.2 Create Blob
3.2.1 Setup Blob
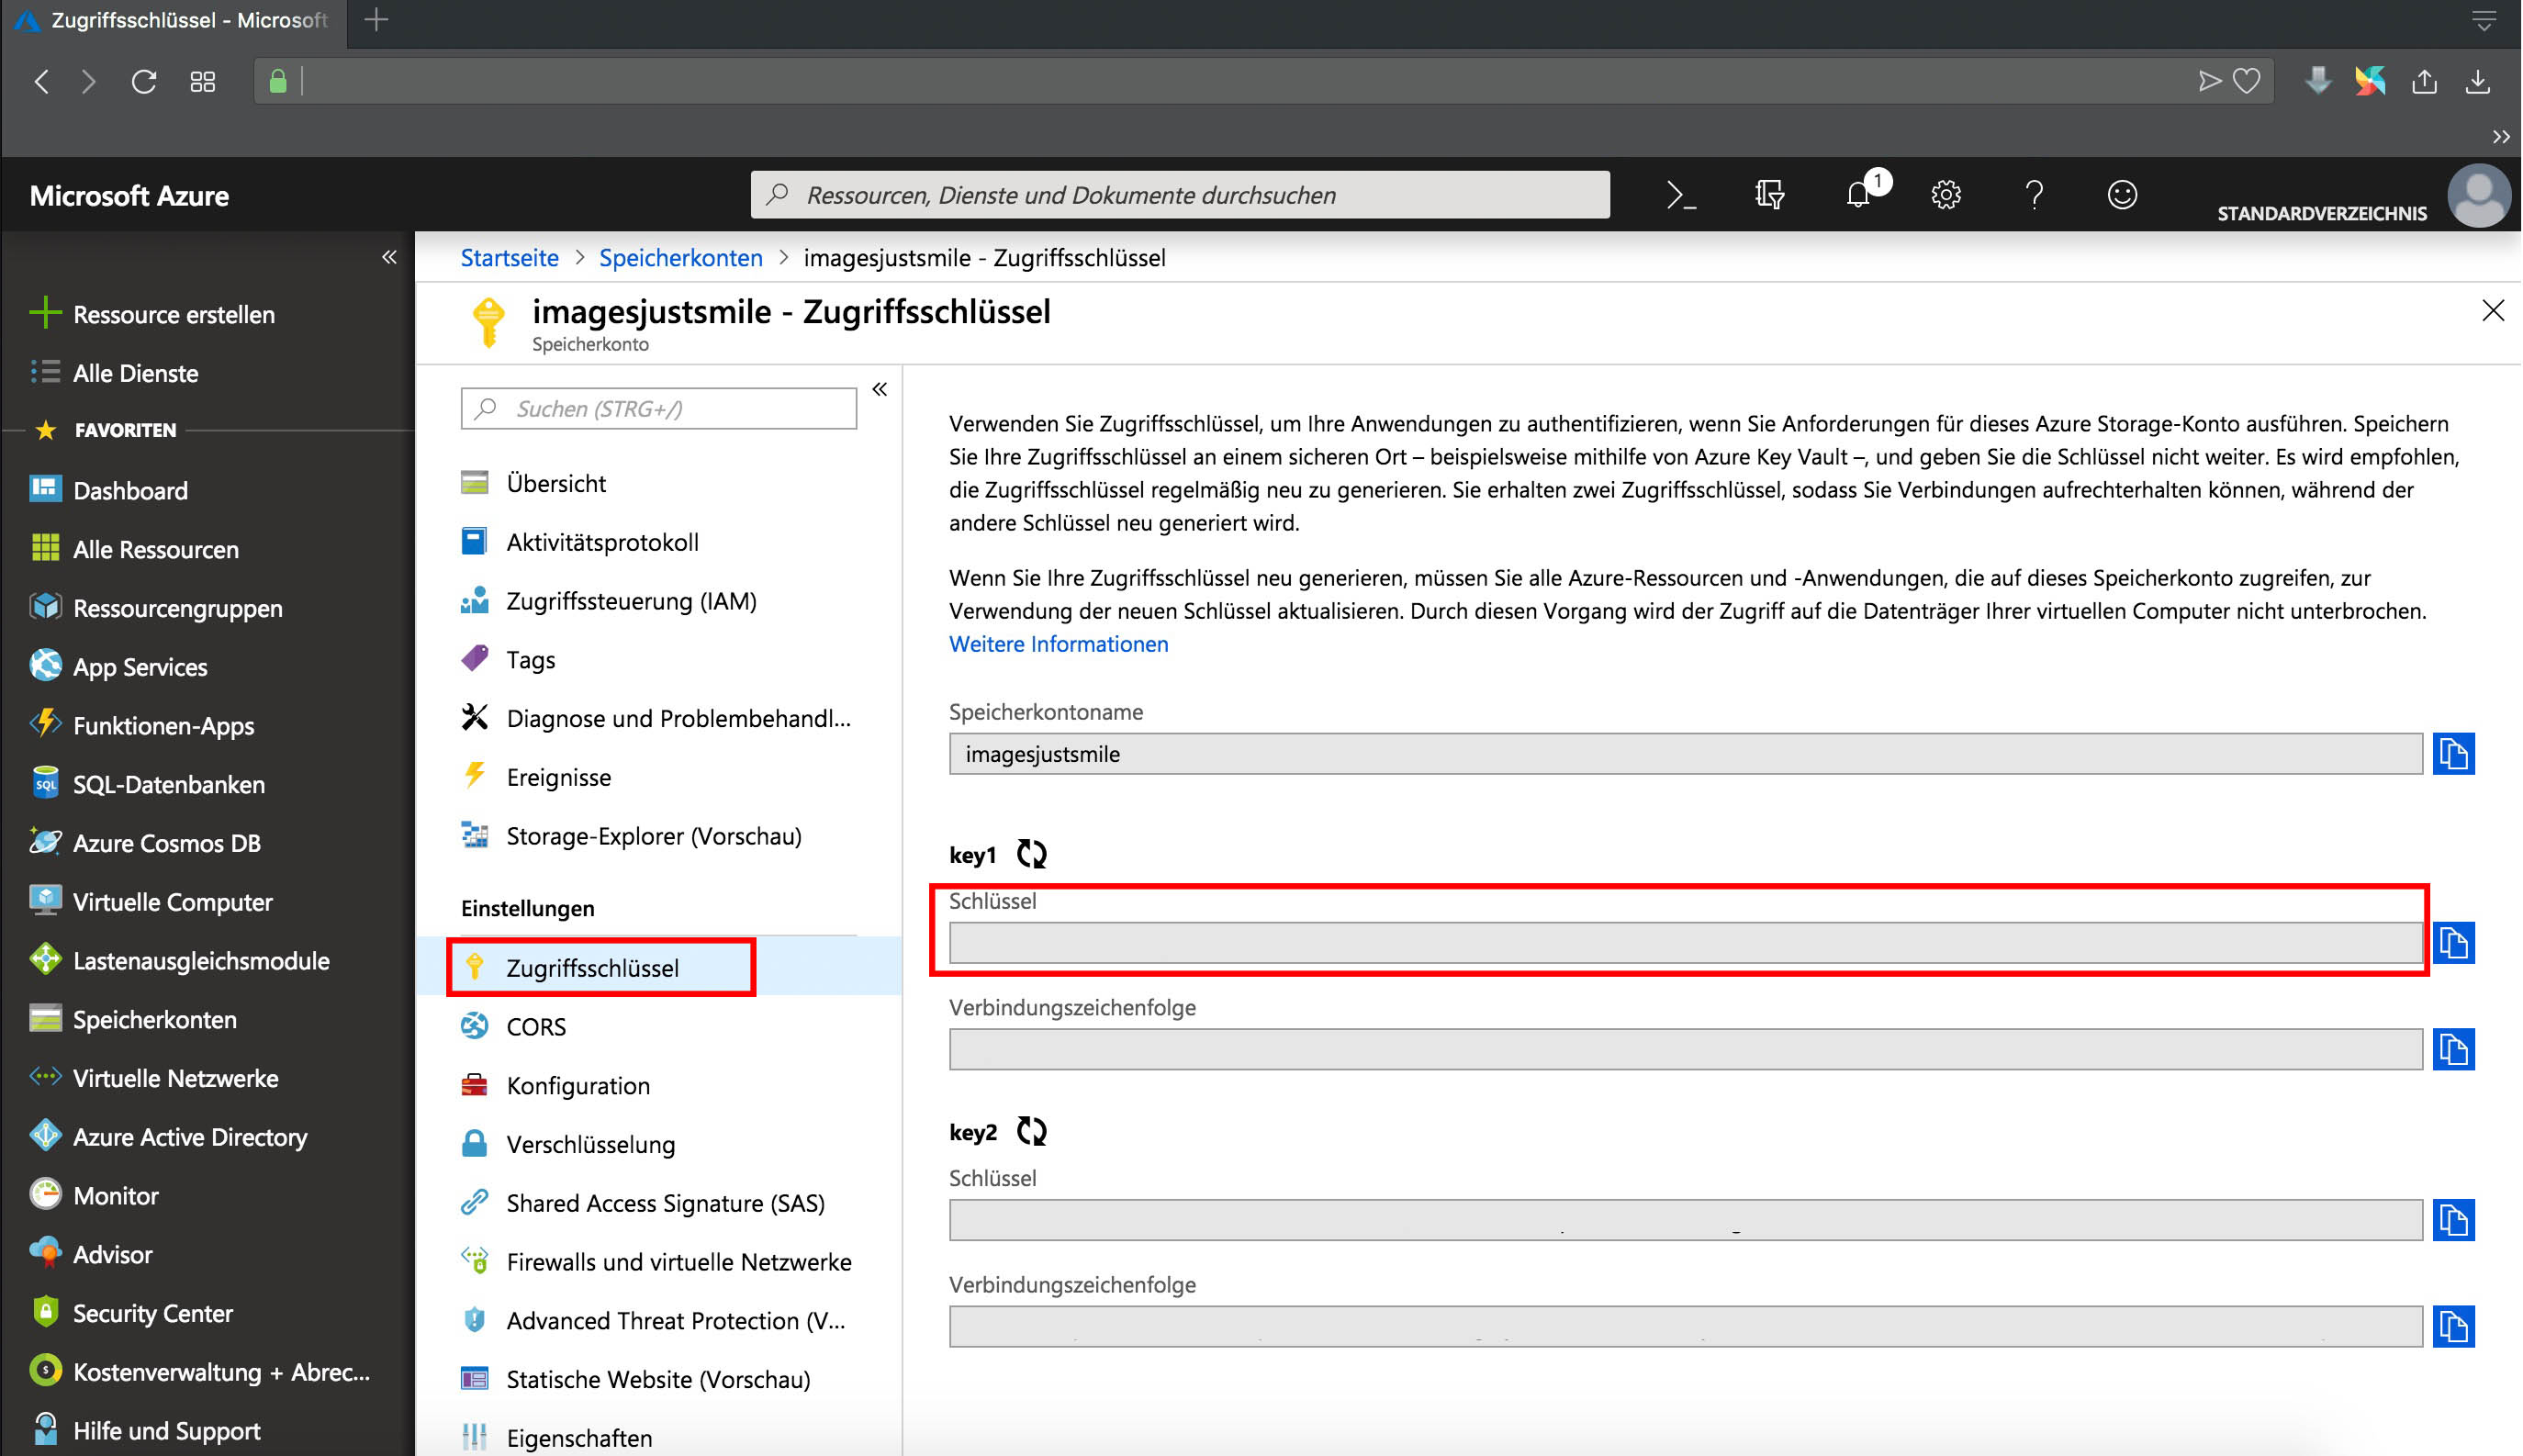
3.2.2 Save credentials for usage
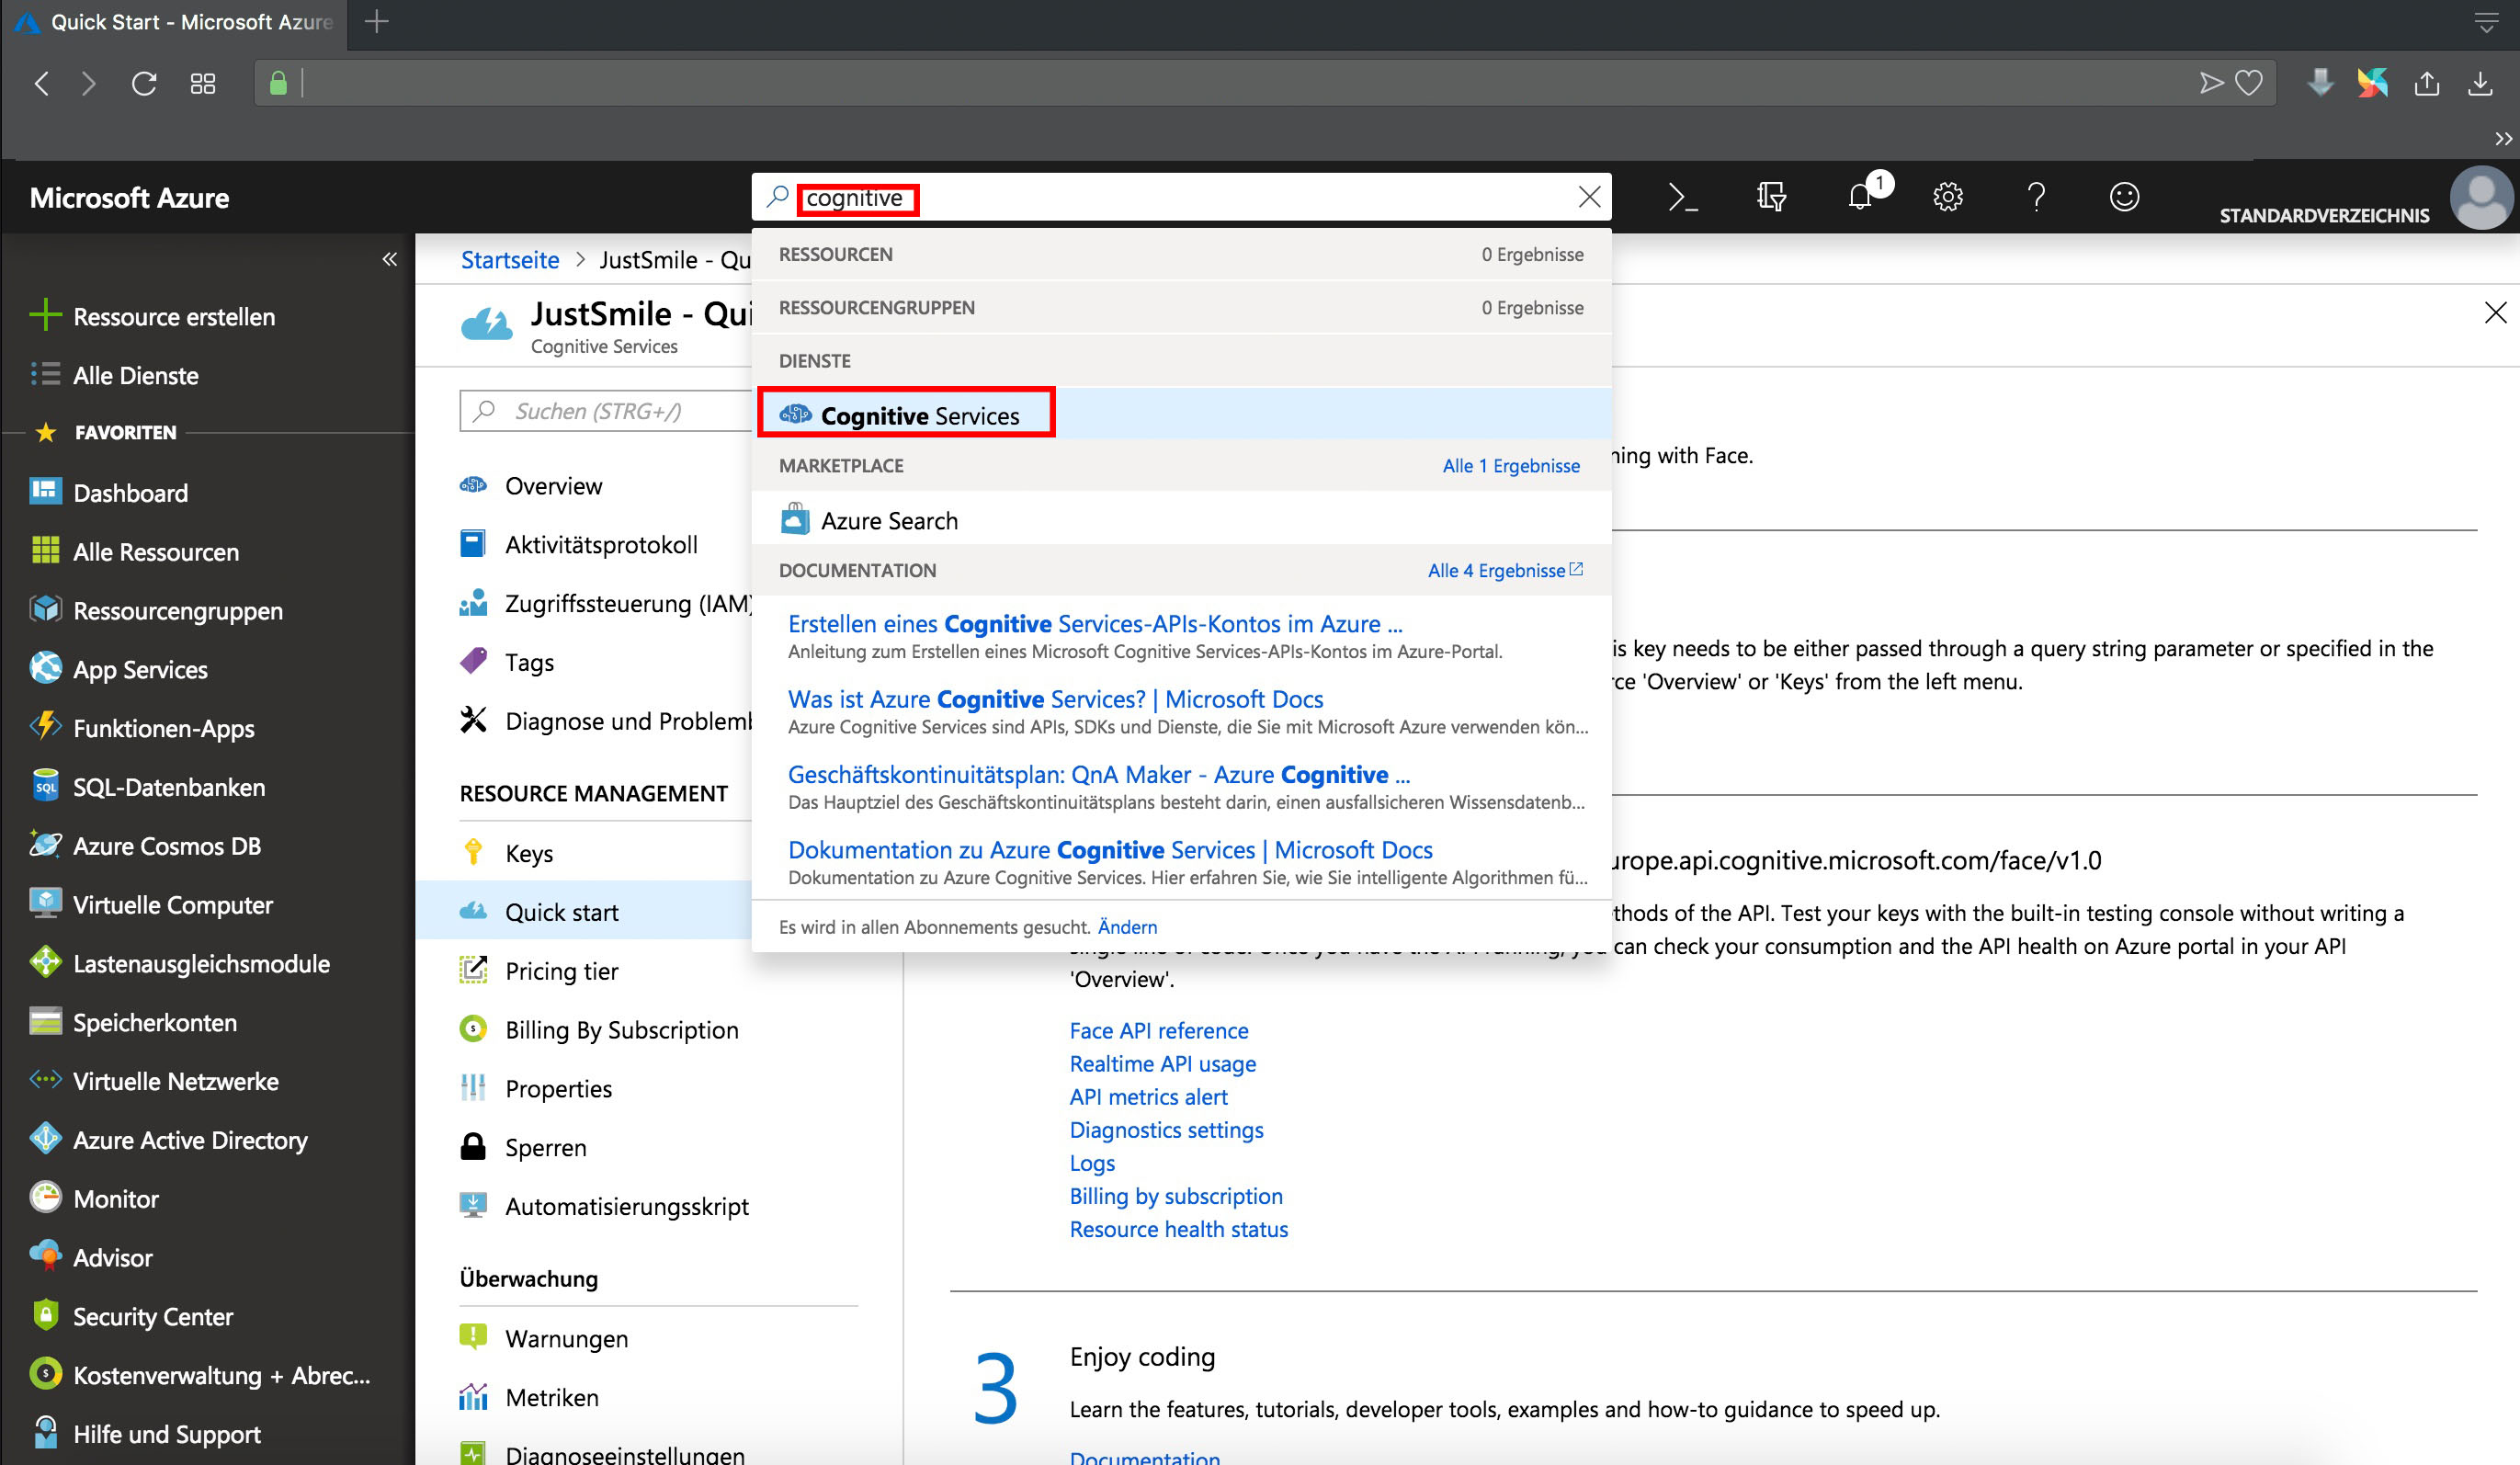
3.3 Setup Azure Cognitive Service
3.1.1 Setup cognitive Service
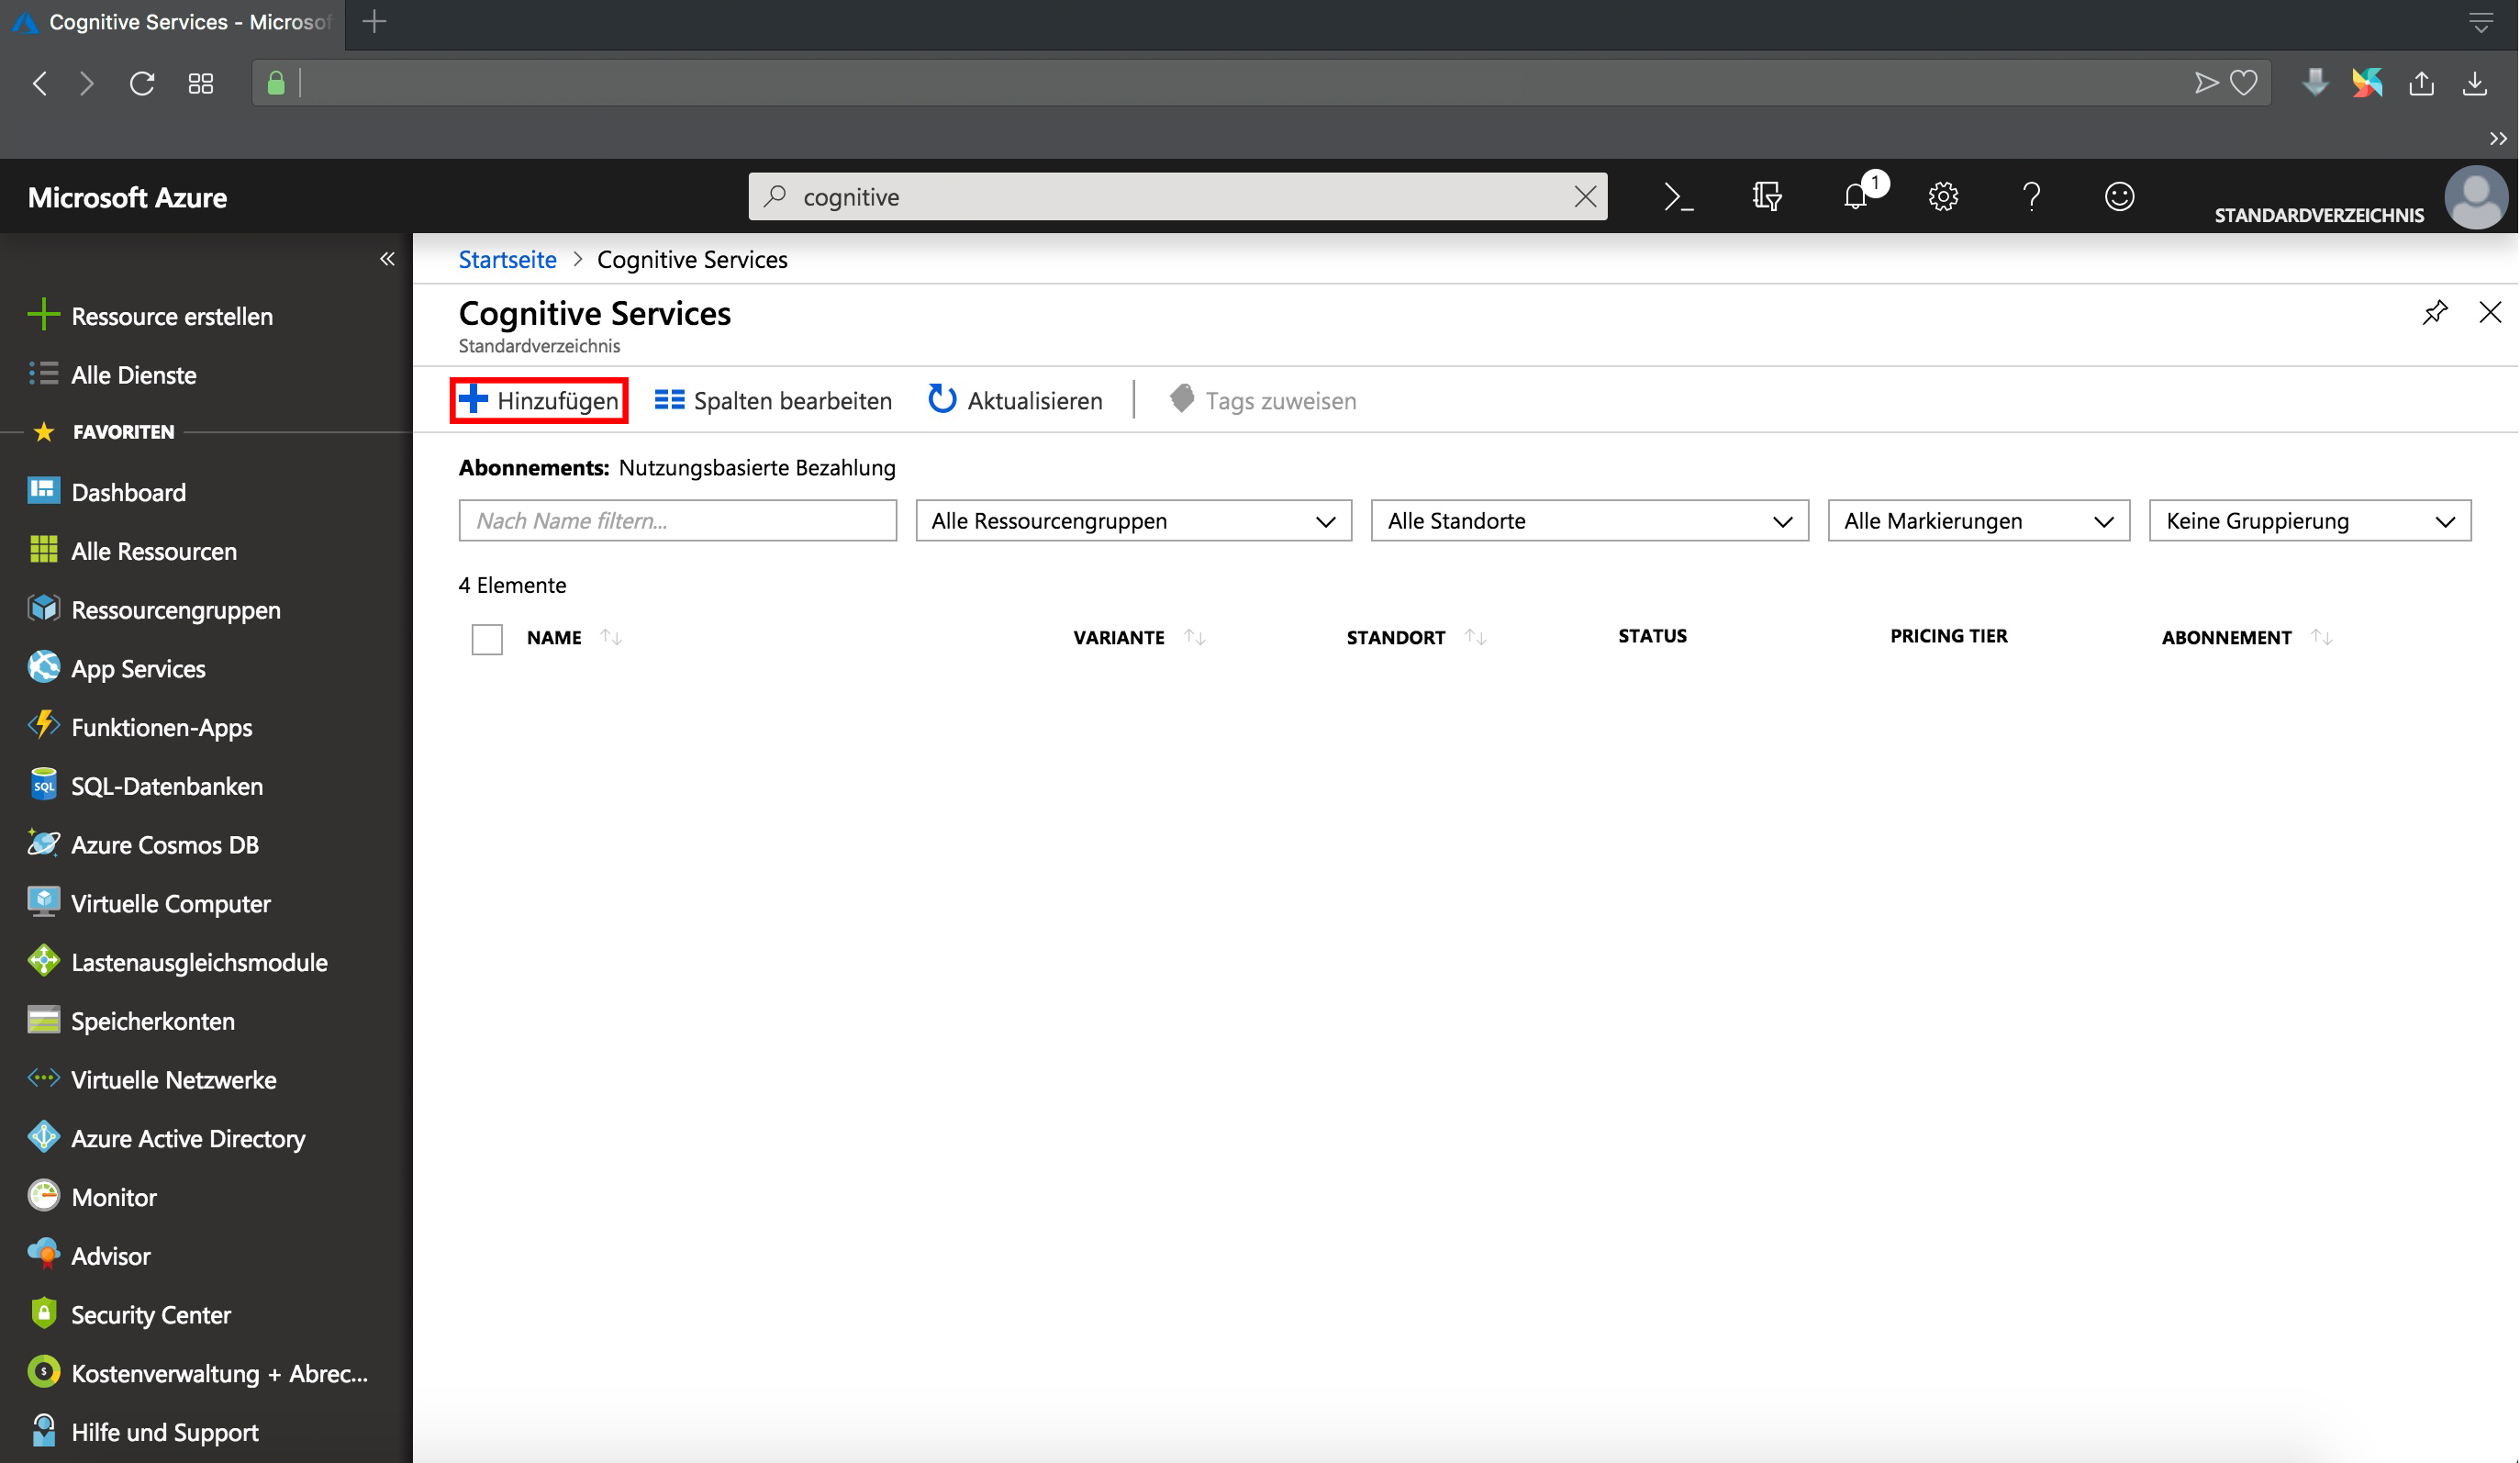
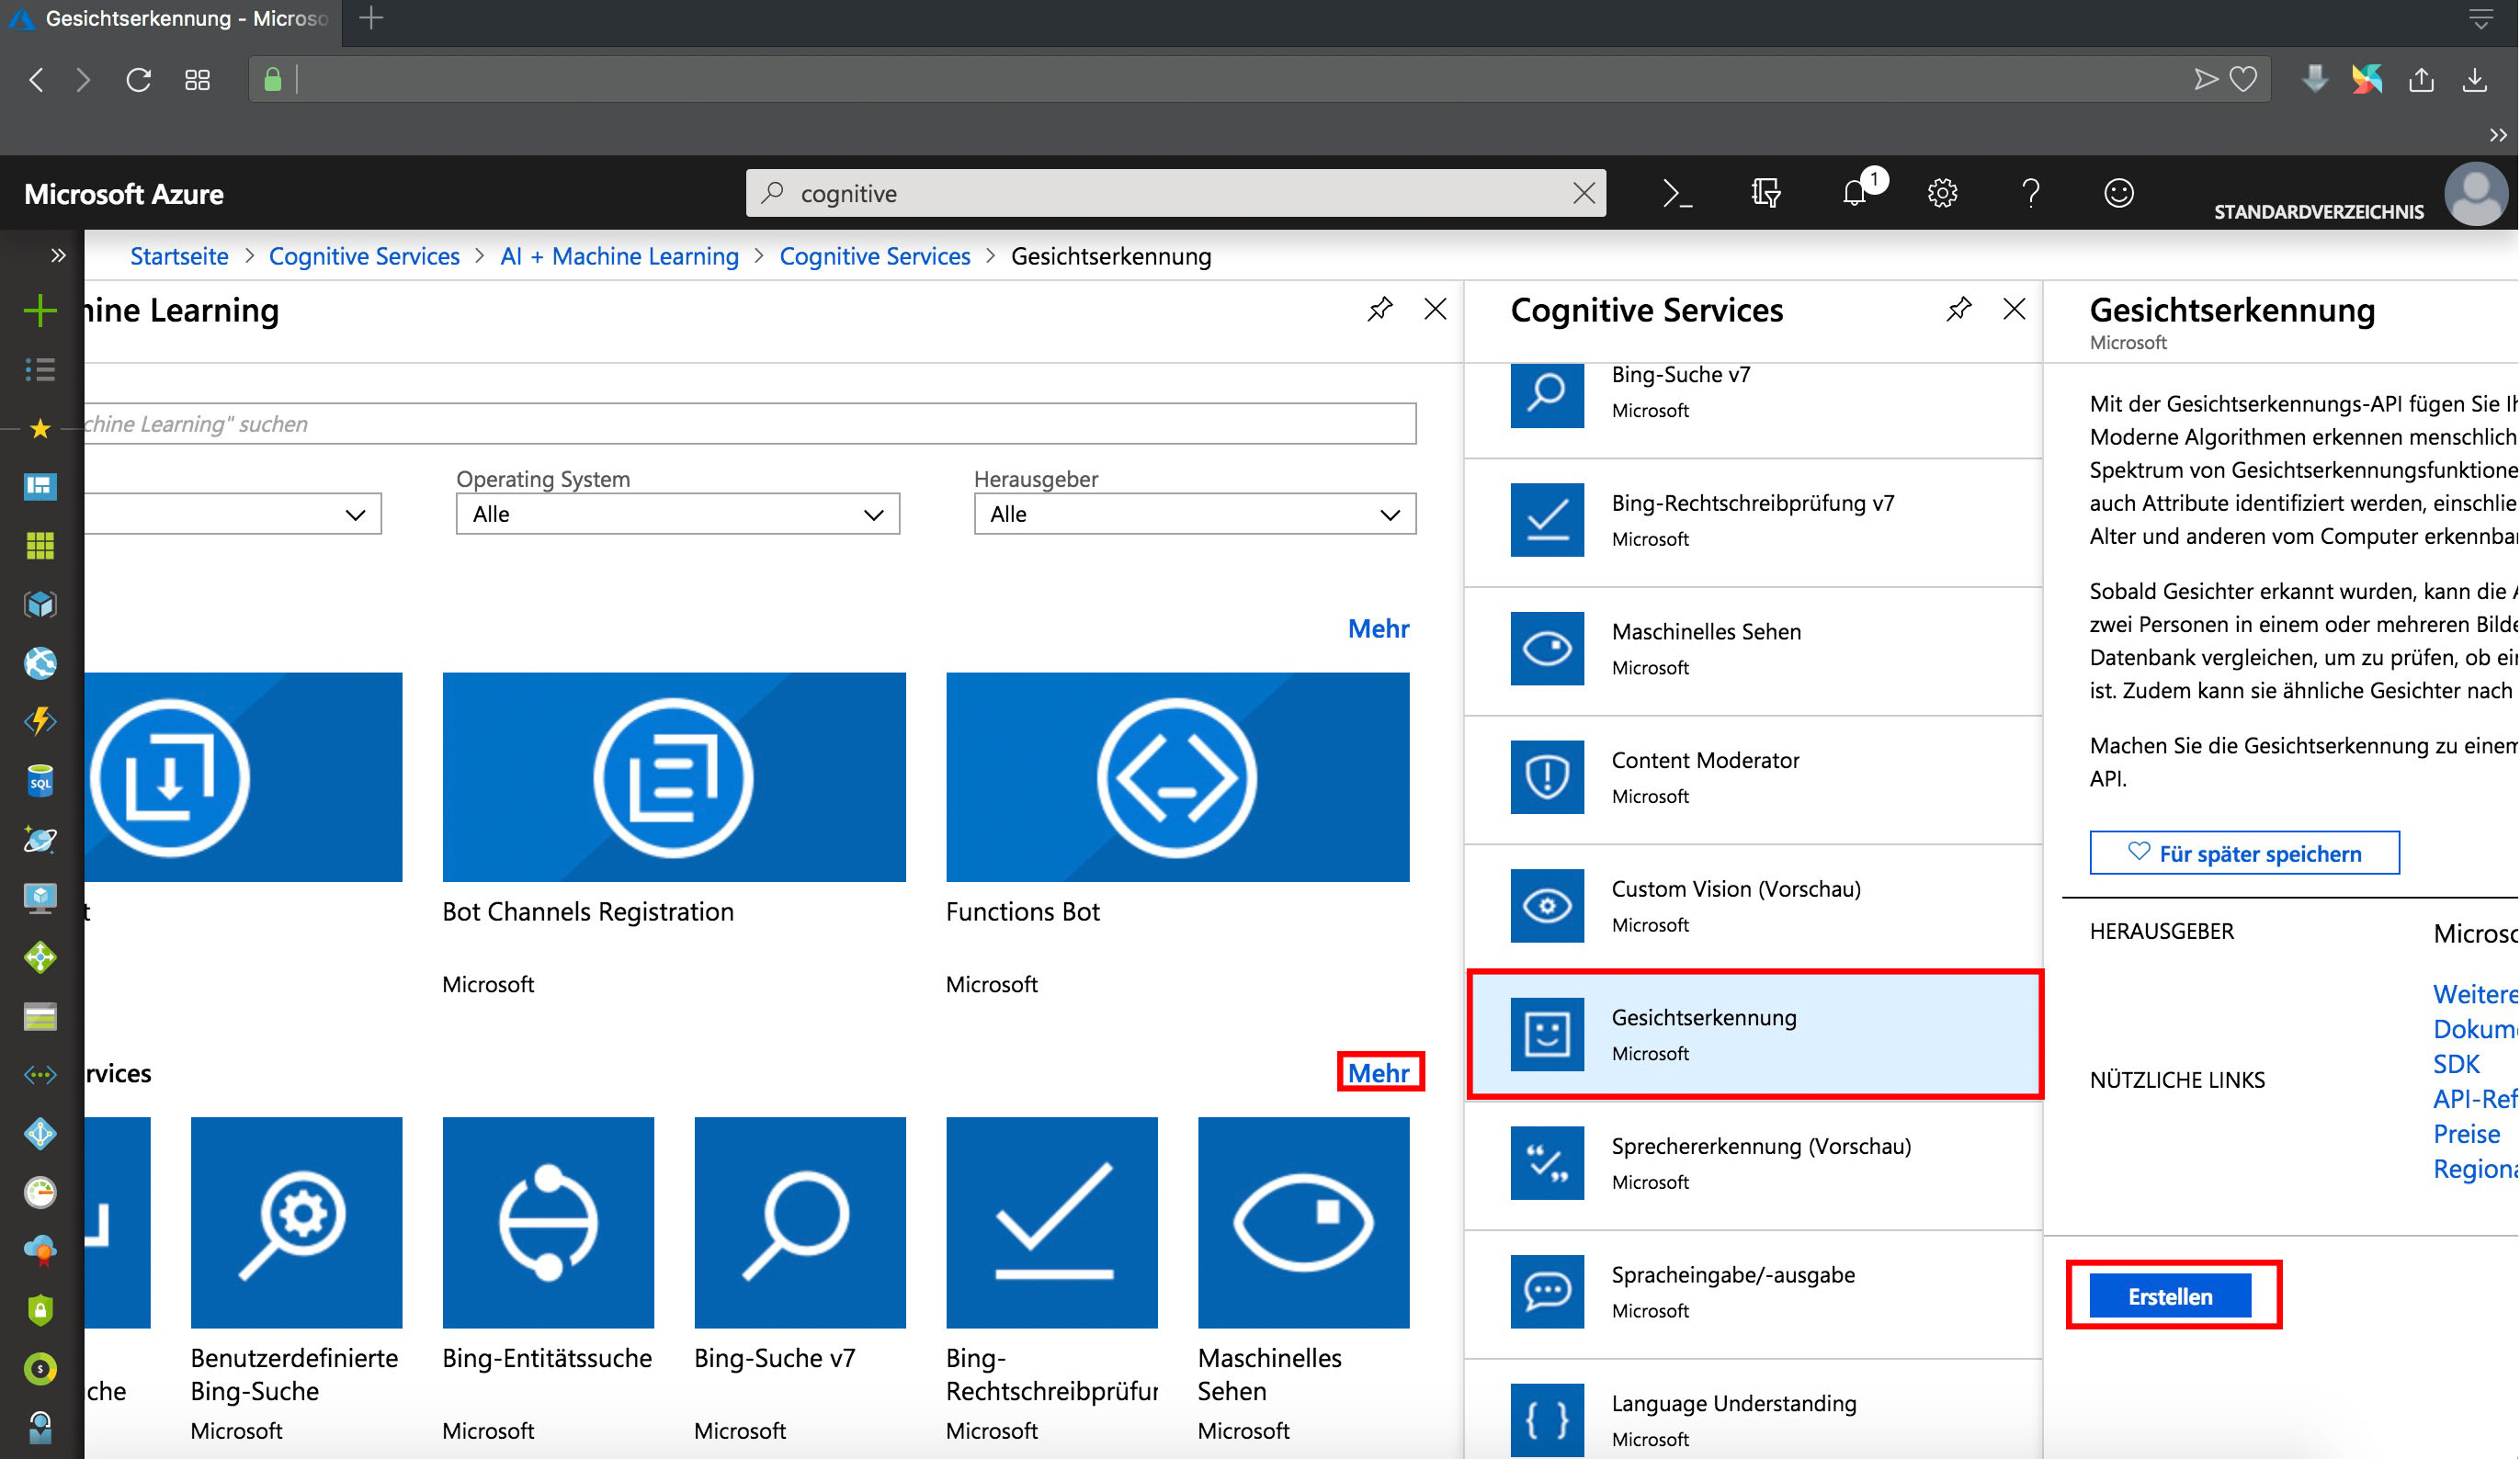
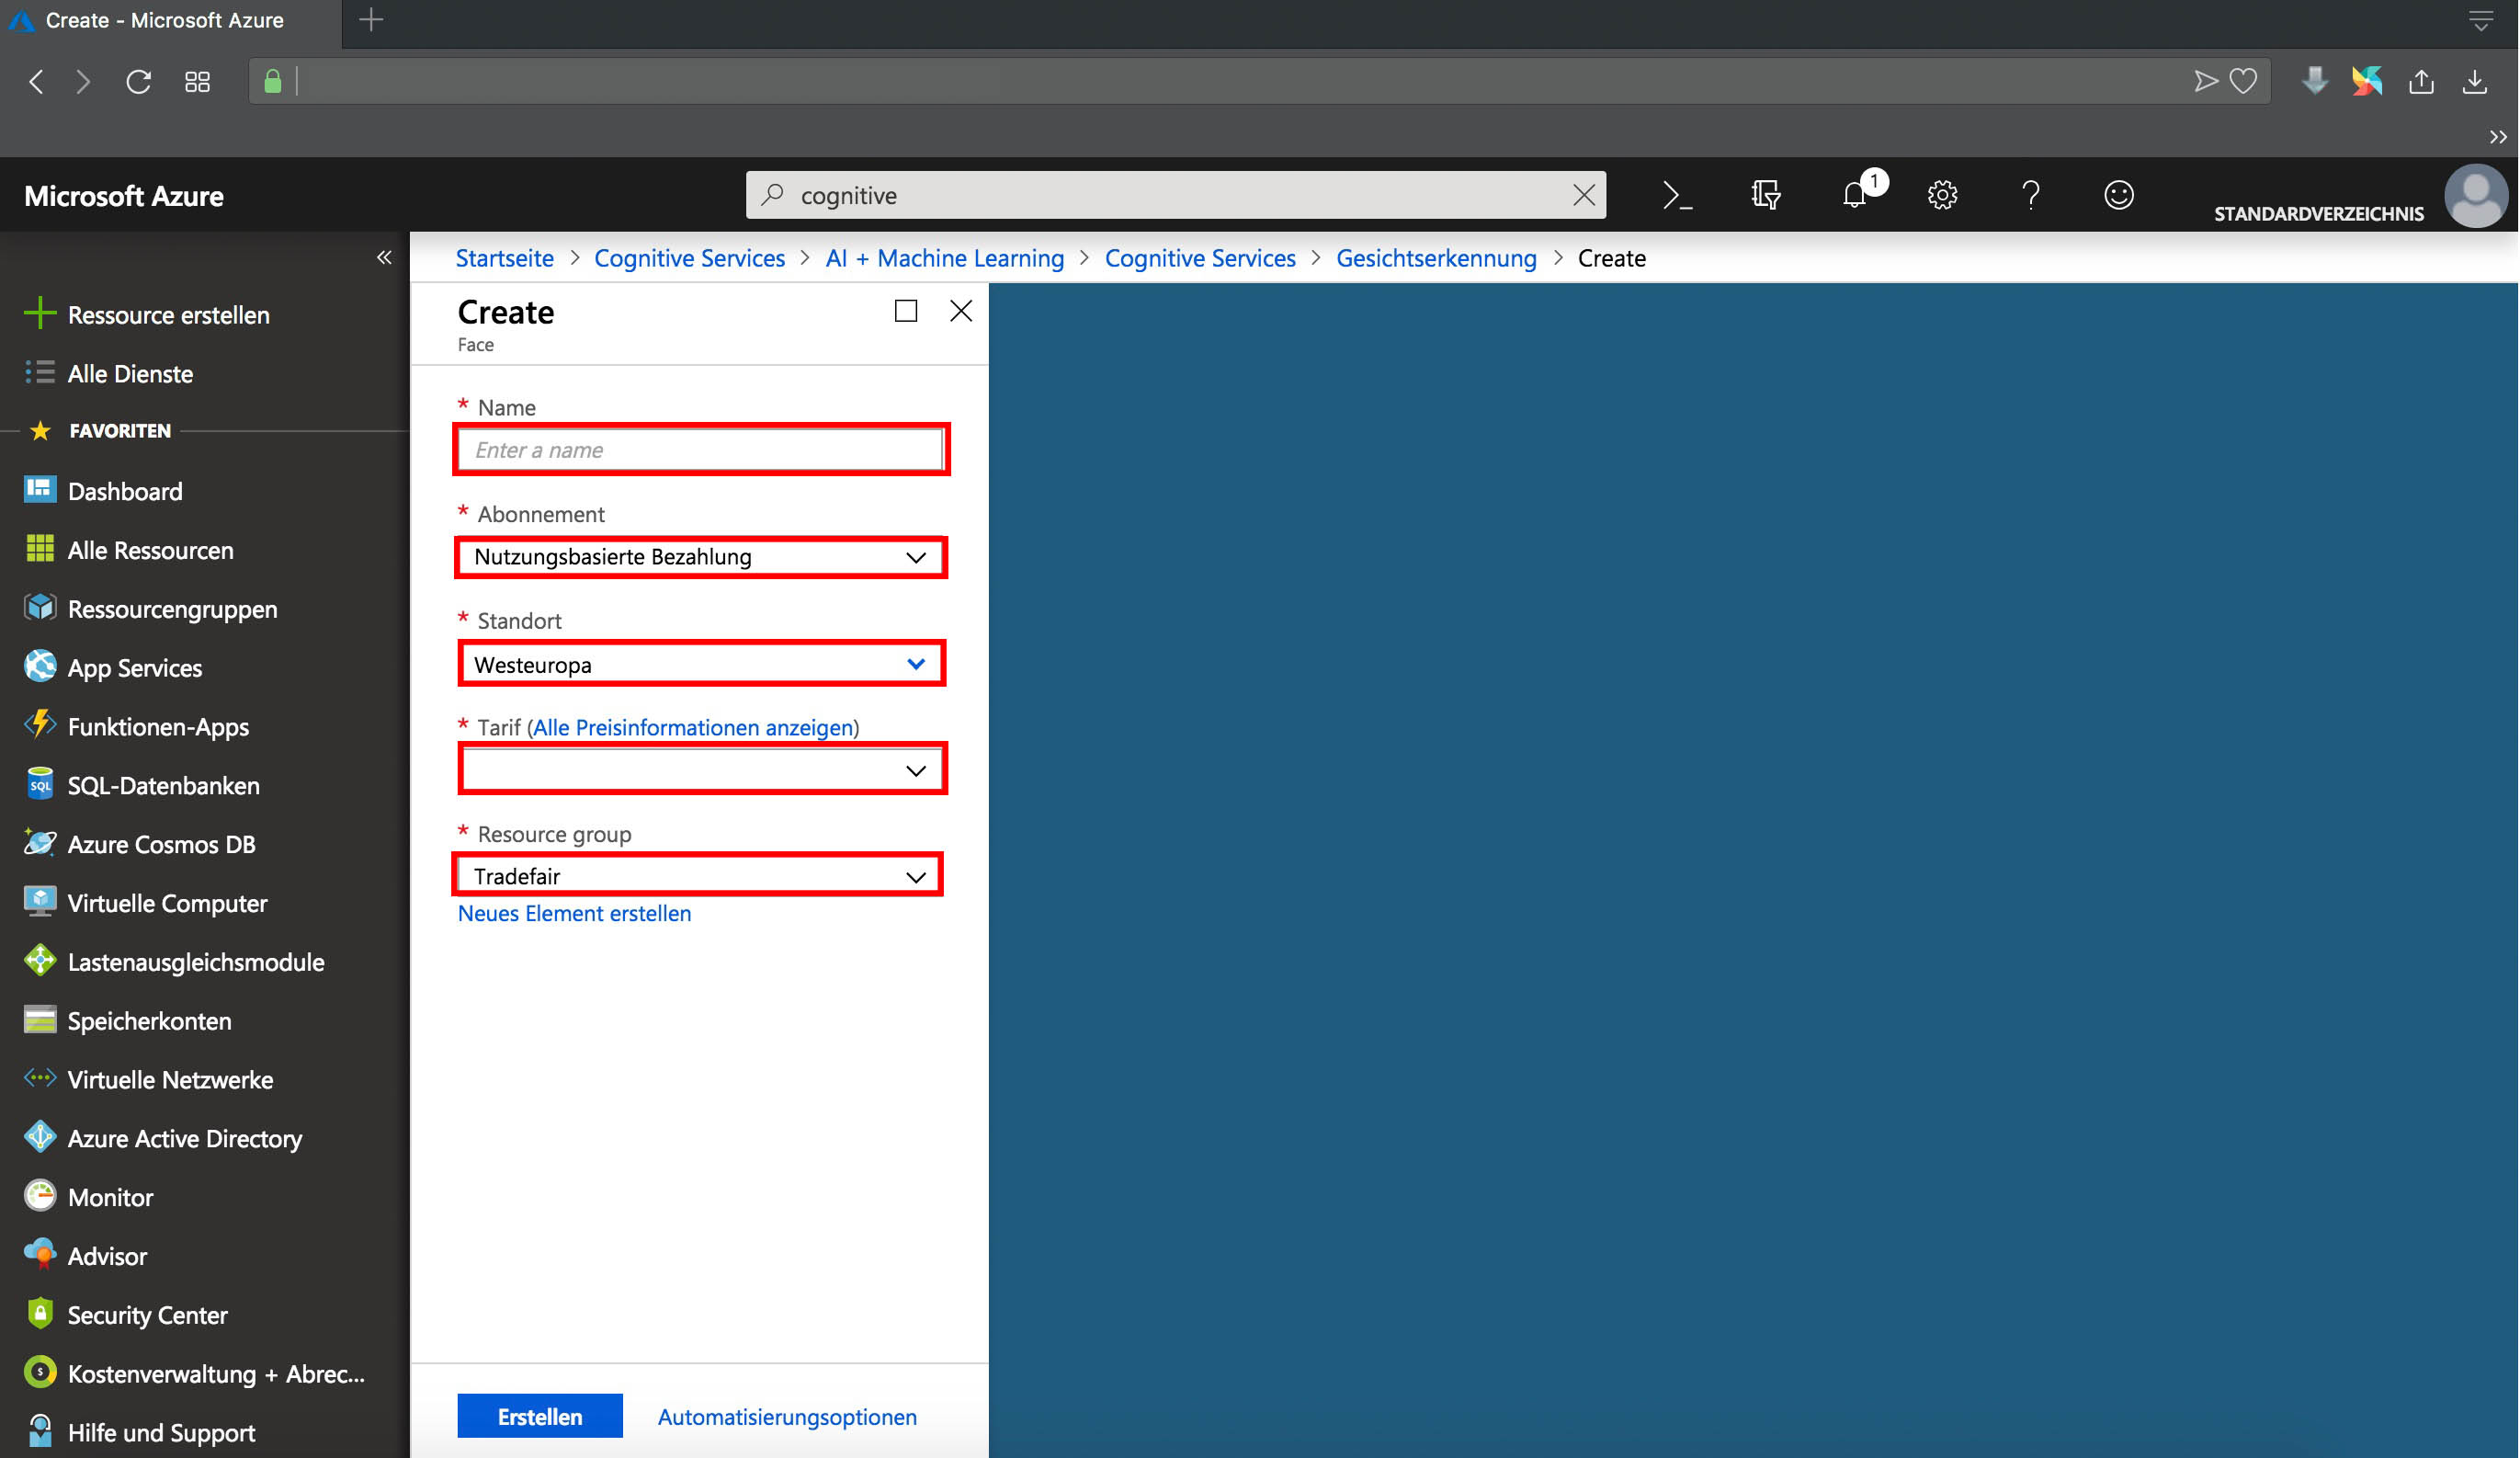
3.2.2 Save credentials for usage
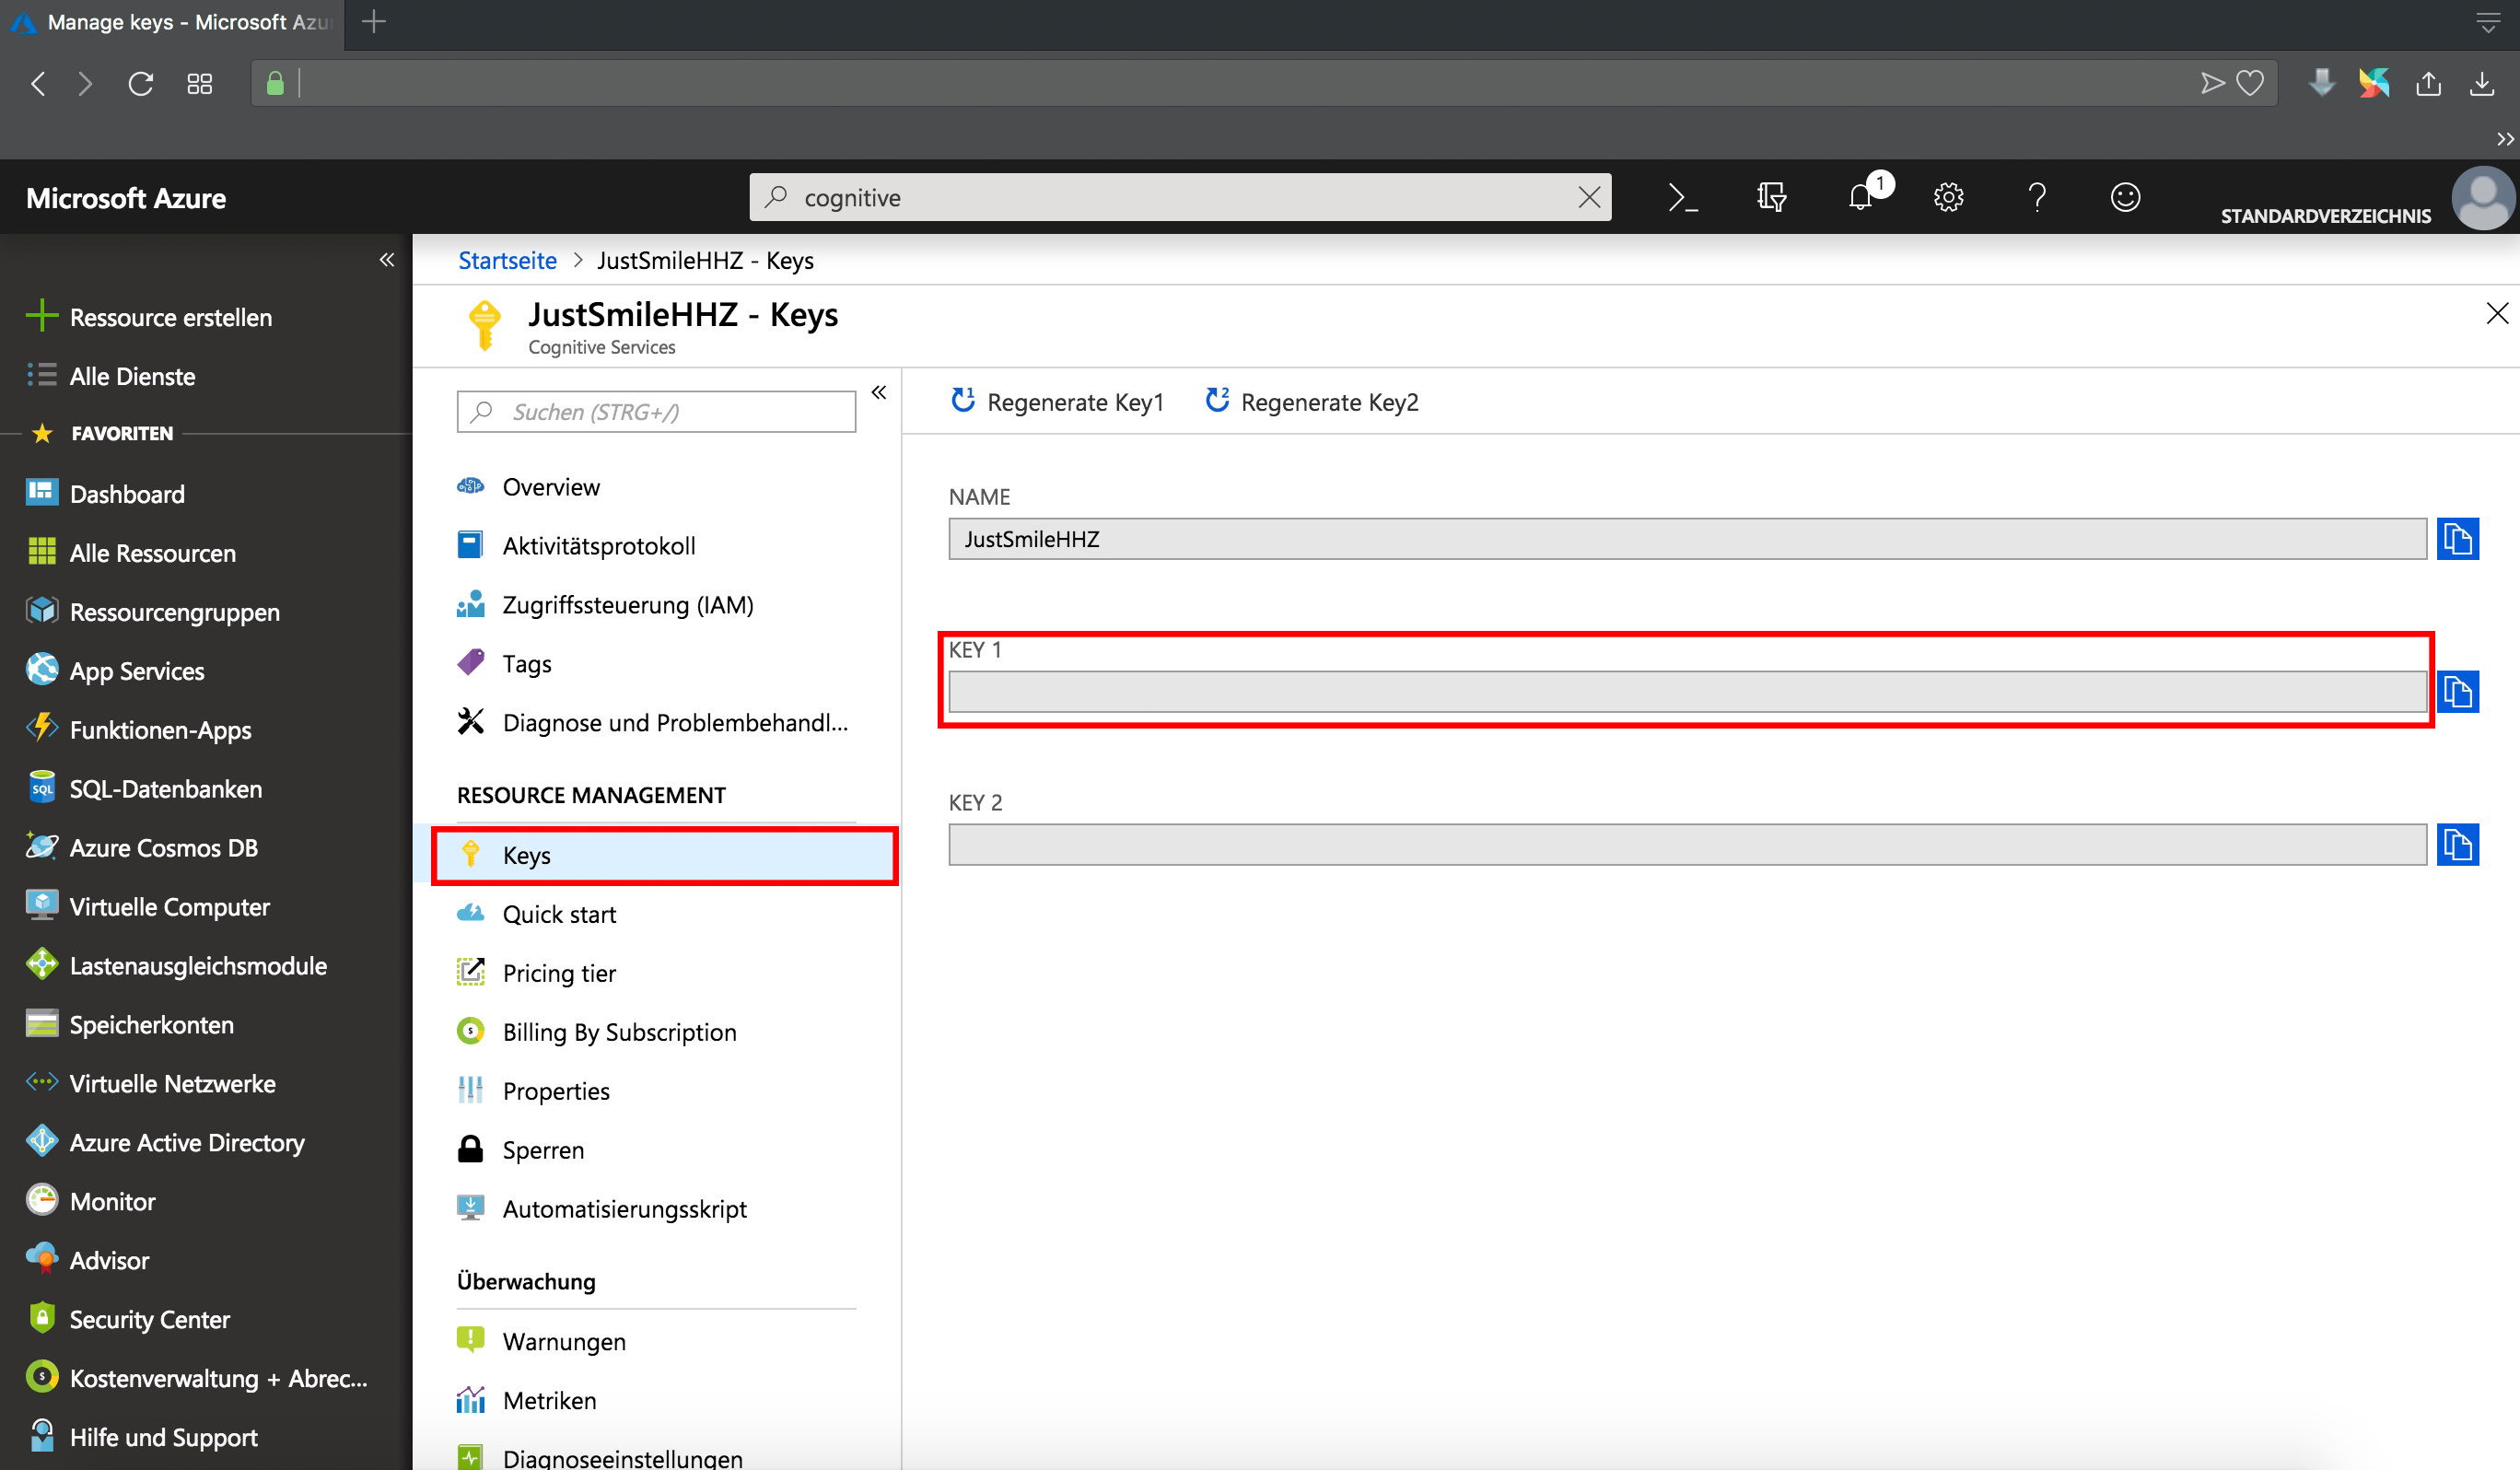
3.3 Setup python file
Before you can run the script, please replace the following placeholders with your defined credentials.
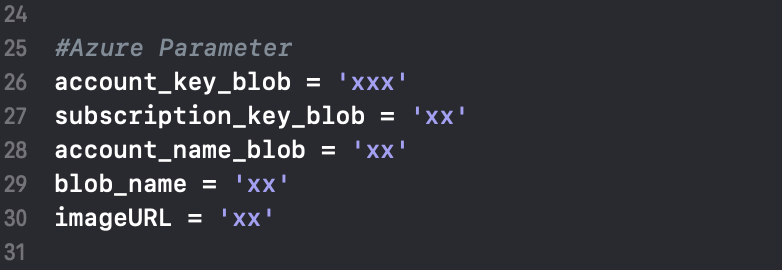
4 How to run
To run the application run the following command in this folder
python smartmirror.py
Have fun!
Updated